Lay-Flat Clothing Photography: Setup, Shaping, and Color QA
Good lay-flat clothing photography depends on three controls: keep the camera square to the surface, shape each garment without rewriting its cut, and judge color against the physical sample. If one of those controls drifts, a tidy-looking frame can still be inaccurate enough to mislead a shopper.
This is the practical production guide. For the definition, use cases, and differences between flat lay, ghost mannequin, and on-model imagery, start with what flat-lay photography is. Here, the job is to leave the set with a repeatable, commerce-ready master.
Know what the flat lay can and cannot prove
A flat lay is strongest when the buyer needs to inspect color, print placement, closures, stitching, and the garment's overall outline. It is weaker evidence for fit, drape on a body, scale, and movement. That distinction should determine the rest of the image set.
Use a flat lay as the factual product record, not the entire story. Google advises apparel sellers to provide high-resolution images, keep a single garment as the focus, and add more angles and contextual images. Its current apparel image guidance specifically recommends on-model context alongside clear product imagery. A practical apparel page therefore pairs the flat lay with detail views and, where fit matters, ghost-mannequin or on-model photography.
The target is not perfect symmetry at any cost. The target is a frame that makes the real cut easy to read.
Build a square overhead set before styling the garment
The camera sensor and background must stay parallel. If the camera tilts, the garment narrows toward one edge and the crop becomes difficult to match across a collection. Secure the camera on a rated overhead arm or studio stand, level it in both axes, and place the garment near the optical center instead of correcting a severe angle later.
Use one broad, diffused light from the side so texture creates a small, readable shadow. Put a white card opposite for fill. Turn off room lights with a different color temperature. Mark the background position, camera height, light position, and crop boundary so the next SKU begins from the same geometry.
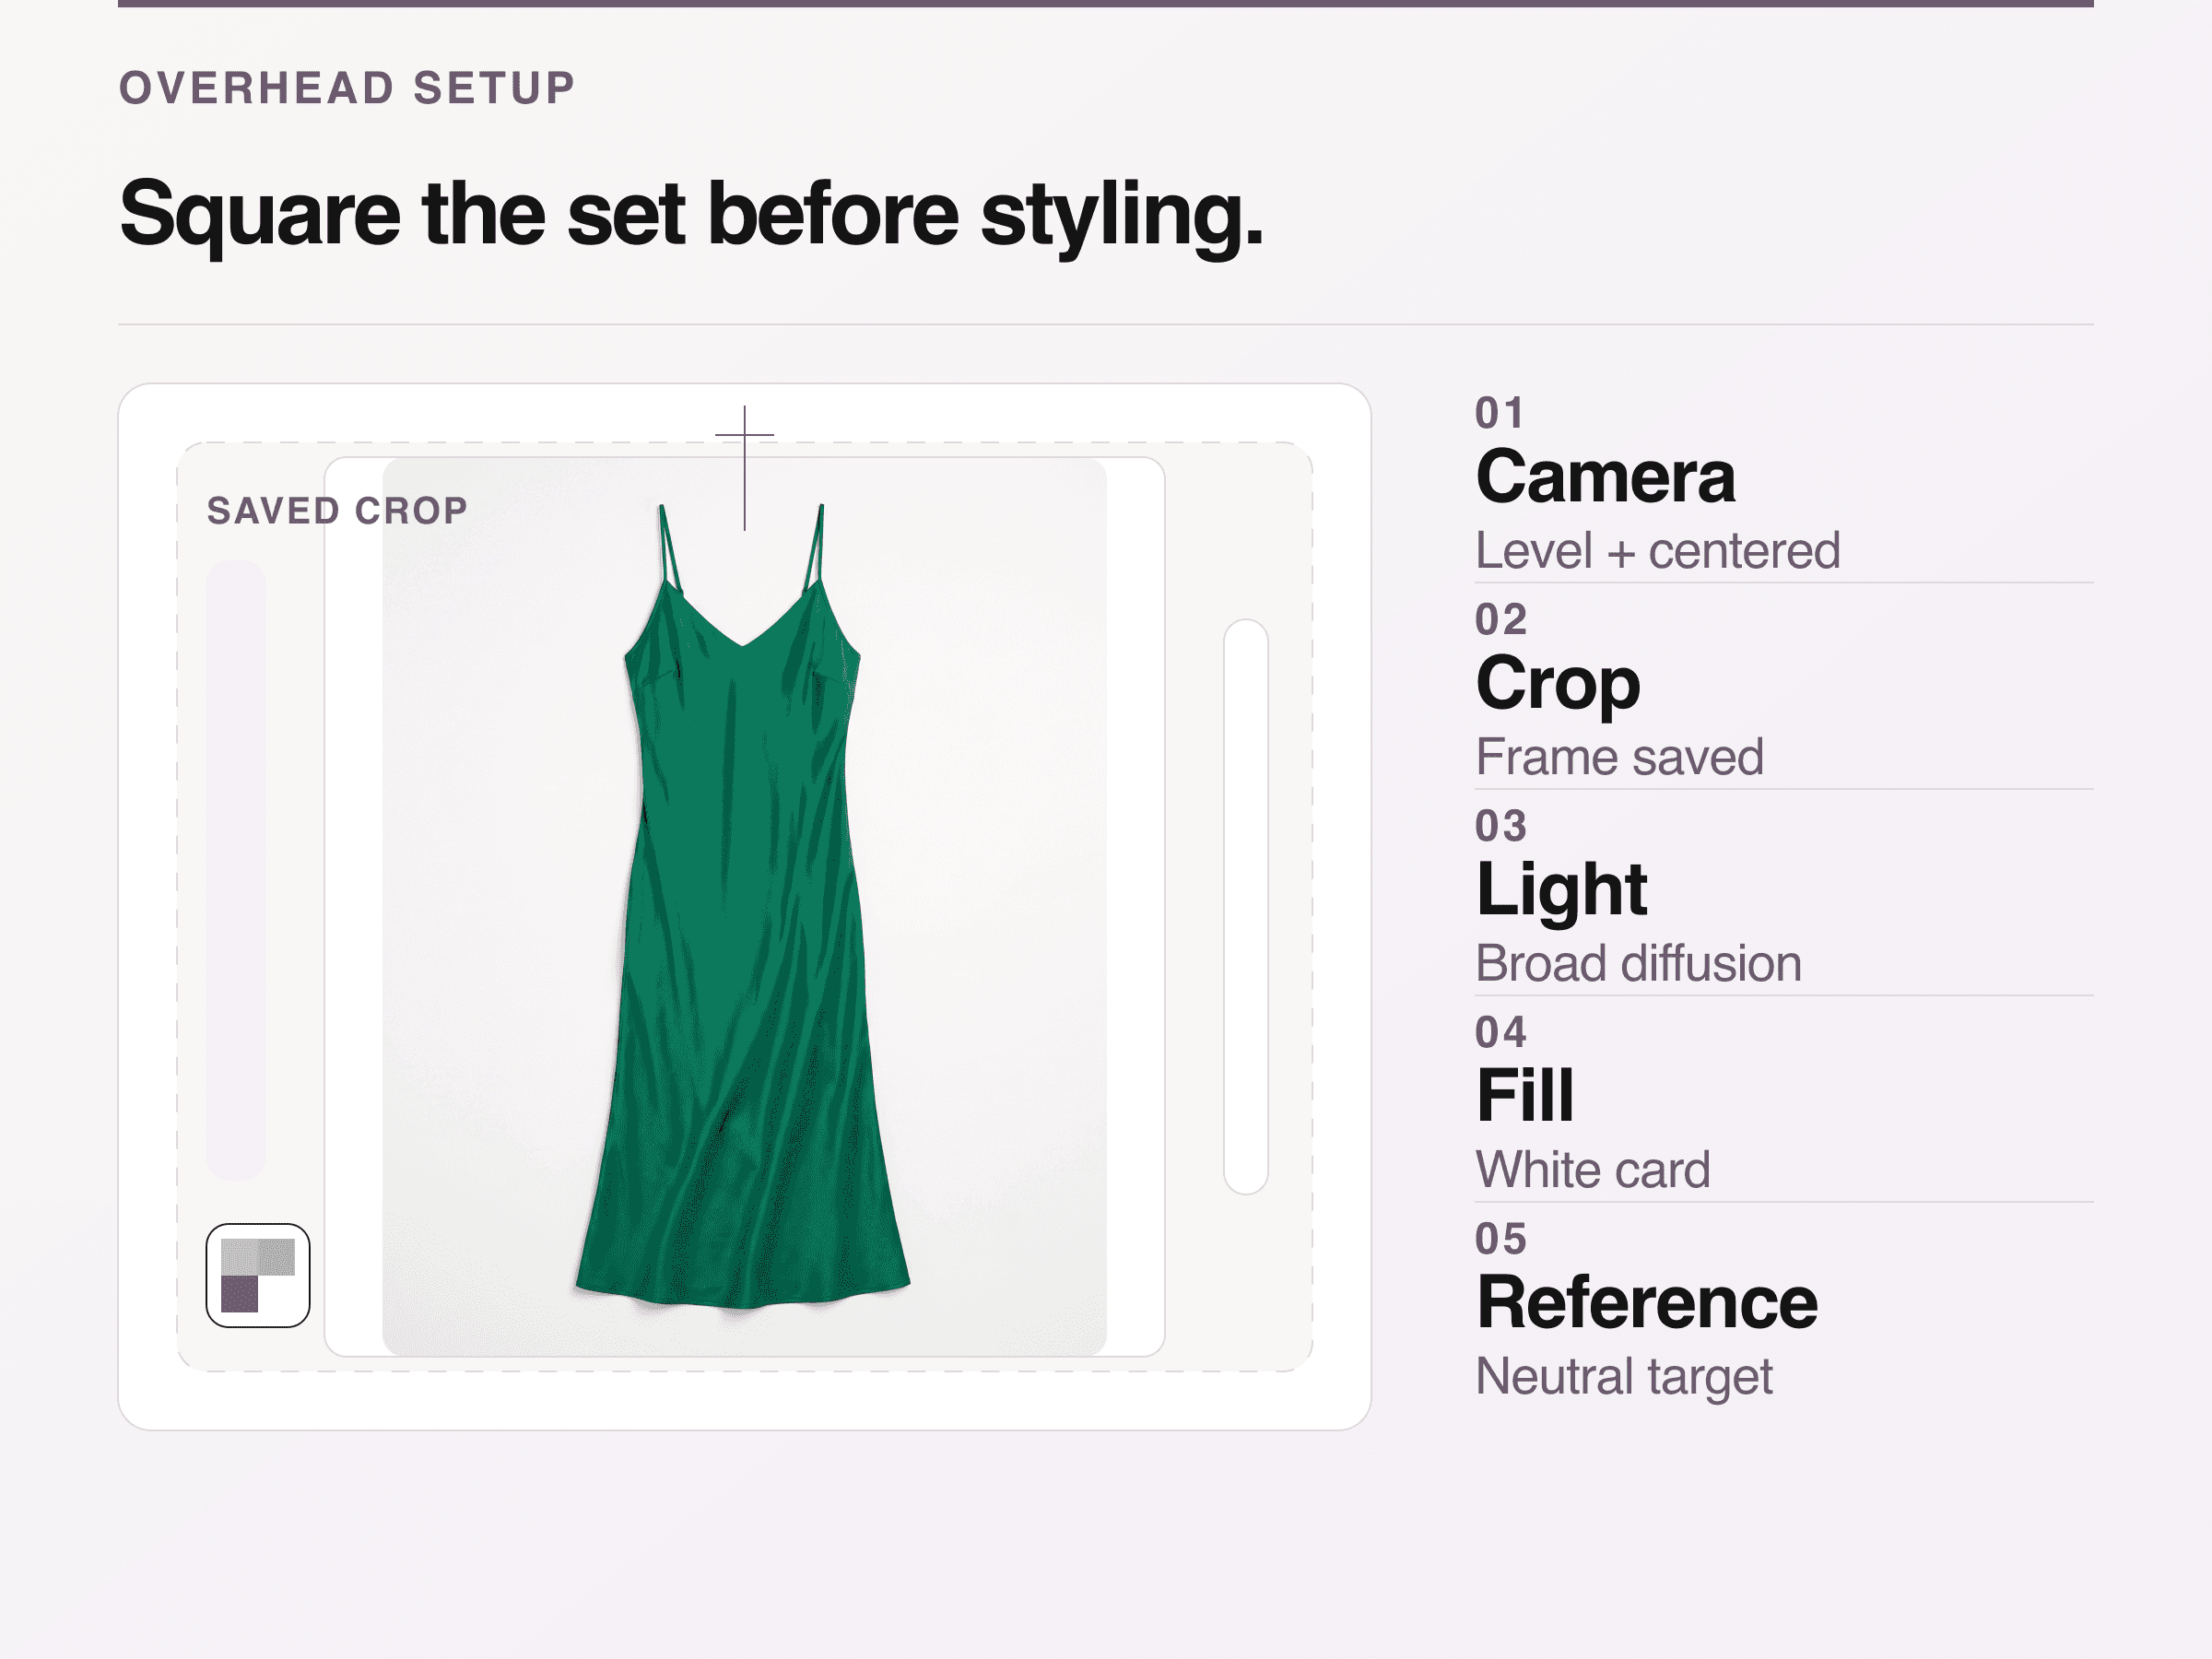
Setup map: lock camera height and center, keep the garment inside the saved crop, place broad diffusion and fill, and capture a neutral reference.
Start a camera setup here, then adjust from the histogram and the fabric in front of you:
Camera: RAW, manual exposure, lowest native ISO, and roughly f/8. On a tripod, let shutter speed carry most exposure changes. If f/8 does not keep a thick or folded garment sharp, test f/11 and inspect for lost fine detail before standardizing it.
Lens: use a normal focal length rather than an ultra-wide view. Leave enough distance to keep the garment near the center of the frame.
White balance: photograph a neutral reference under the final light and lock the setting for that batch. Adobe explains that Camera Raw can neutralize a known white or gray reference; a random sheet of paper is not a dependable neutral target.
Phone: use the main 1x camera, switch off portrait mode and filters, lock focus and exposure on the garment, use a timer or remote release, and keep digital zoom at 1x. If the phone saves RAW and the team has a RAW workflow, enable it. Otherwise protect highlights and keep the same capture settings for the full color run.
These are starting points, not universal exposure recipes. Shopify's product-photography guidance explains the relationship between aperture, shutter speed, ISO, and white balance; the correct final values depend on the light, camera, lens, and material.
Shape the construction, not an imaginary ideal
Prep the sample according to its care instructions, confirm the SKU and variant, close the fastenings that define its normal silhouette, and remove lint before the garment reaches the set. Hidden pins, removable tape outside the visible edge, and a small amount of tissue can control the outline. None should change the product's actual construction.
Garment | Truthful shaping move |
|---|---|
T-shirt or sweatshirt | Align shoulder seams, let sleeves keep a natural angle, and keep ribbing visible instead of stretching the body into a rectangle. |
Shirt or blouse | Set the collar and placket first, then align cuffs and hem. Do not erase intended gathers or a curved hem. |
Knitwear | Support soft areas lightly and preserve the knit's natural width. Avoid pulling the fabric until the stitch scale changes. |
Trousers or jeans | Align the waistband and leg seams, show the real rise, and use a deliberate fold only when a full-length frame is not required. |
Skirt or dress | Establish the waist and center line, then distribute pleats or volume according to the construction rather than forcing bilateral symmetry. |
Jacket or structured piece | Use light internal support to reveal lapels and volume, but keep shoulder shape, padding, and closures faithful to the sample. |
Shape for readability without changing the garment's intended construction.
Photograph front and back before improvising styled folds. Those factual views become the reference against which every crop, detail image, and later derivative can be checked.
Light for material, then protect color in the edit
Flat does not mean shadowless. Move the large source slightly across the surface so ribbing, embroidery, pile, and seams retain relief. If a black garment disappears into the background, add a pale edge card. If a white garment loses its boundary, add a black card outside the crop. Cards change edge contrast without changing the product color.
Mixed light is harder to repair than low contrast. Capture a neutral reference whenever the light, modifier, or set location changes. Keep the RAW master because it preserves more adjustment latitude than a camera-processed JPEG, as described in Adobe's Camera Raw overview.
Edit in this order:
Apply the camera profile and neutral white balance.
Correct lens distortion and crop before fine retouching.
Set exposure while preserving texture in highlights and dark fabric.
Remove dust, loose fibers, and temporary setup marks.
Check hue, saturation, and brightness beside the physical sample under neutral viewing light.
Export a feed master and the required channel derivatives from the approved master.
Do not liquify seams, move print placement, extend hems, or recolor one variant to manufacture another. Color management helps different devices interpret a file consistently, but it cannot rescue a capture whose light or white balance was wrong. Adobe makes that distinction in its color-management explanation.
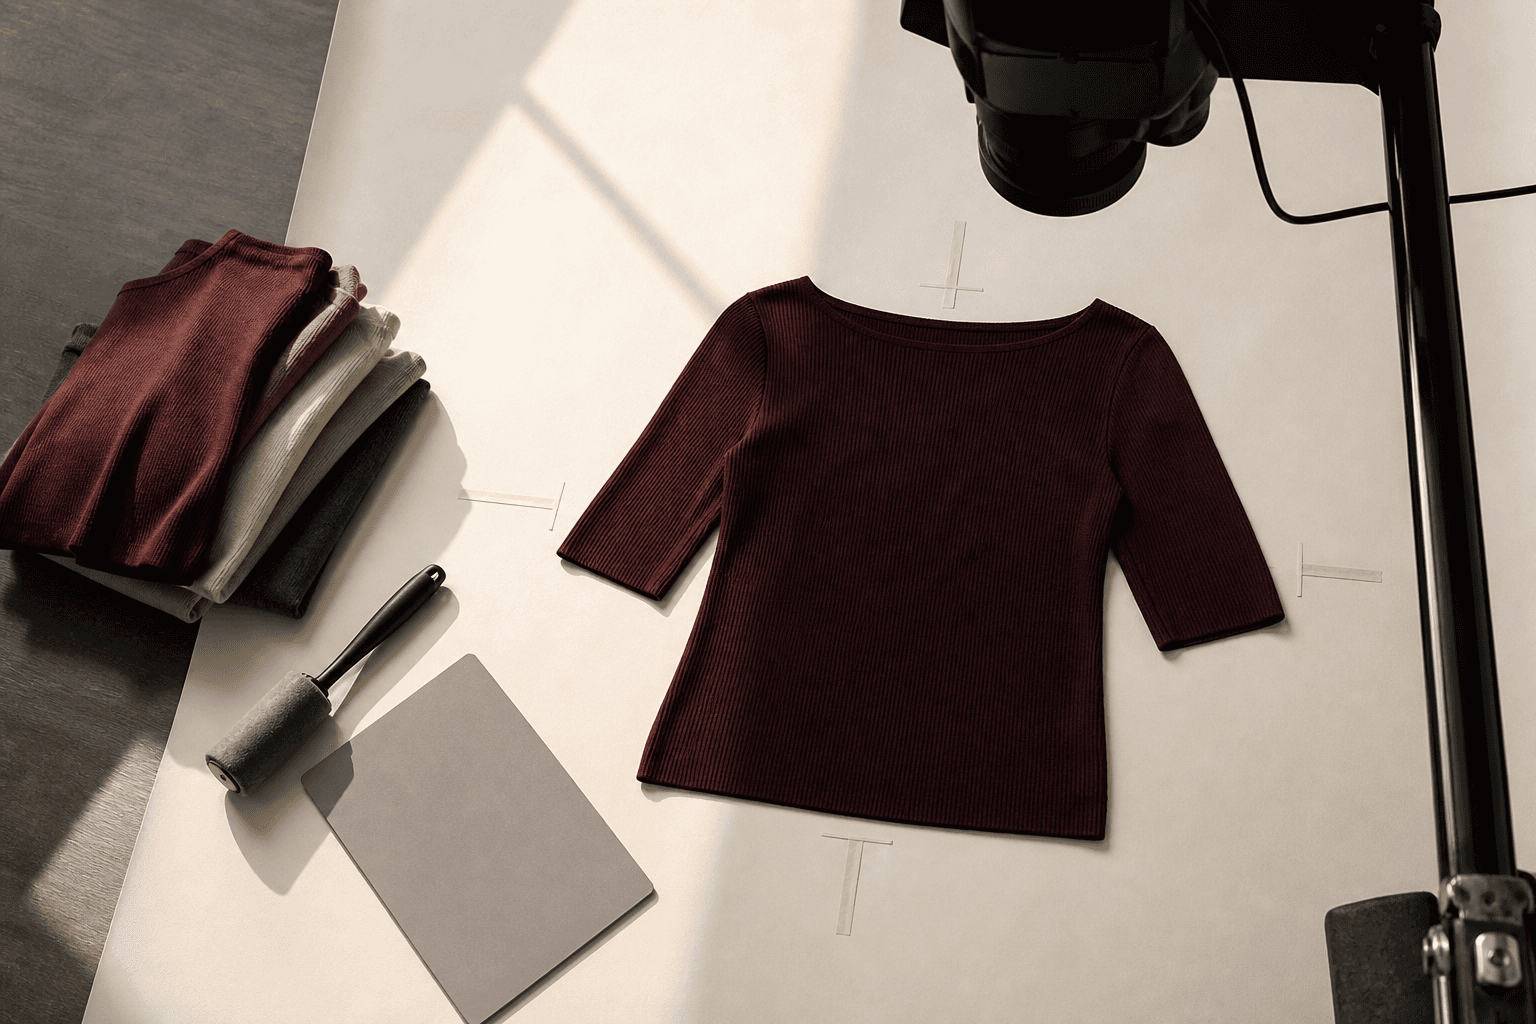
Conceptual illustration: an overhead knit setup with a neutral target and preparation tools; it is not a measured lighting proof.
Diagnose the frame before opening Photoshop
Most flat-lay failures reveal their cause on set. Use the symptom to choose the smallest correction.
One shoulder looks smaller: check camera level and garment position before moving fabric. Perspective correction should not be the first fix.
The center is sharp but the cuffs are soft: flatten the height difference, confirm the lens is parallel, then test a smaller aperture.
A white garment looks gray: read the histogram and compare the background separately. Do not brighten until fabric texture clips.
A black garment has no edge: add separation with the background or an edge card, not a heavy global contrast curve.
Fine patterns show waves or false color: change capture distance slightly, test a different aperture, and inspect the RAW file at 100 percent. Avoid aggressive sharpening.
The product looks a different color on each SKU: remove mixed light, recapture the neutral reference, and compare the physical samples under one viewing condition.
The collection grid feels uneven: compare camera height, product bounding box, center line, and crop guide before changing individual exports.
The completion test is simple: an uninvolved teammate should be able to identify the correct variant, read the garment's construction, and place the image beside adjacent SKUs without an obvious jump in scale or color.
Capture the minimum evidence set
Do not finish after one front view. Capture the images required to answer the product's remaining questions: full back, neckline or closure, fabric and stitching detail, print or embellishment, and a scale or fit view when dimensions are hard to infer. Google currently permits up to ten additional images per product in free listings, as documented in its free-listing product attributes, and recommends multiple angles and close-ups in its apparel guidance.
For a broader apparel library, use the clothing photography for ecommerce guide to decide where flat lay, ghost mannequin, on-model, and lifestyle images belong. The flat lay should be the reliable product source within that system, not a substitute for fit evidence.
Use an approved flat lay as a source, not a fit guarantee
Once the source image passes construction and color QA, it can support additional creative production. Look Atlas uses uploaded product photos to create on-model and campaign-oriented imagery, and its live product page says high-resolution flat lays or ghost mannequins provide the preferred geometric foundation. The source still needs to be judged against every derivative.
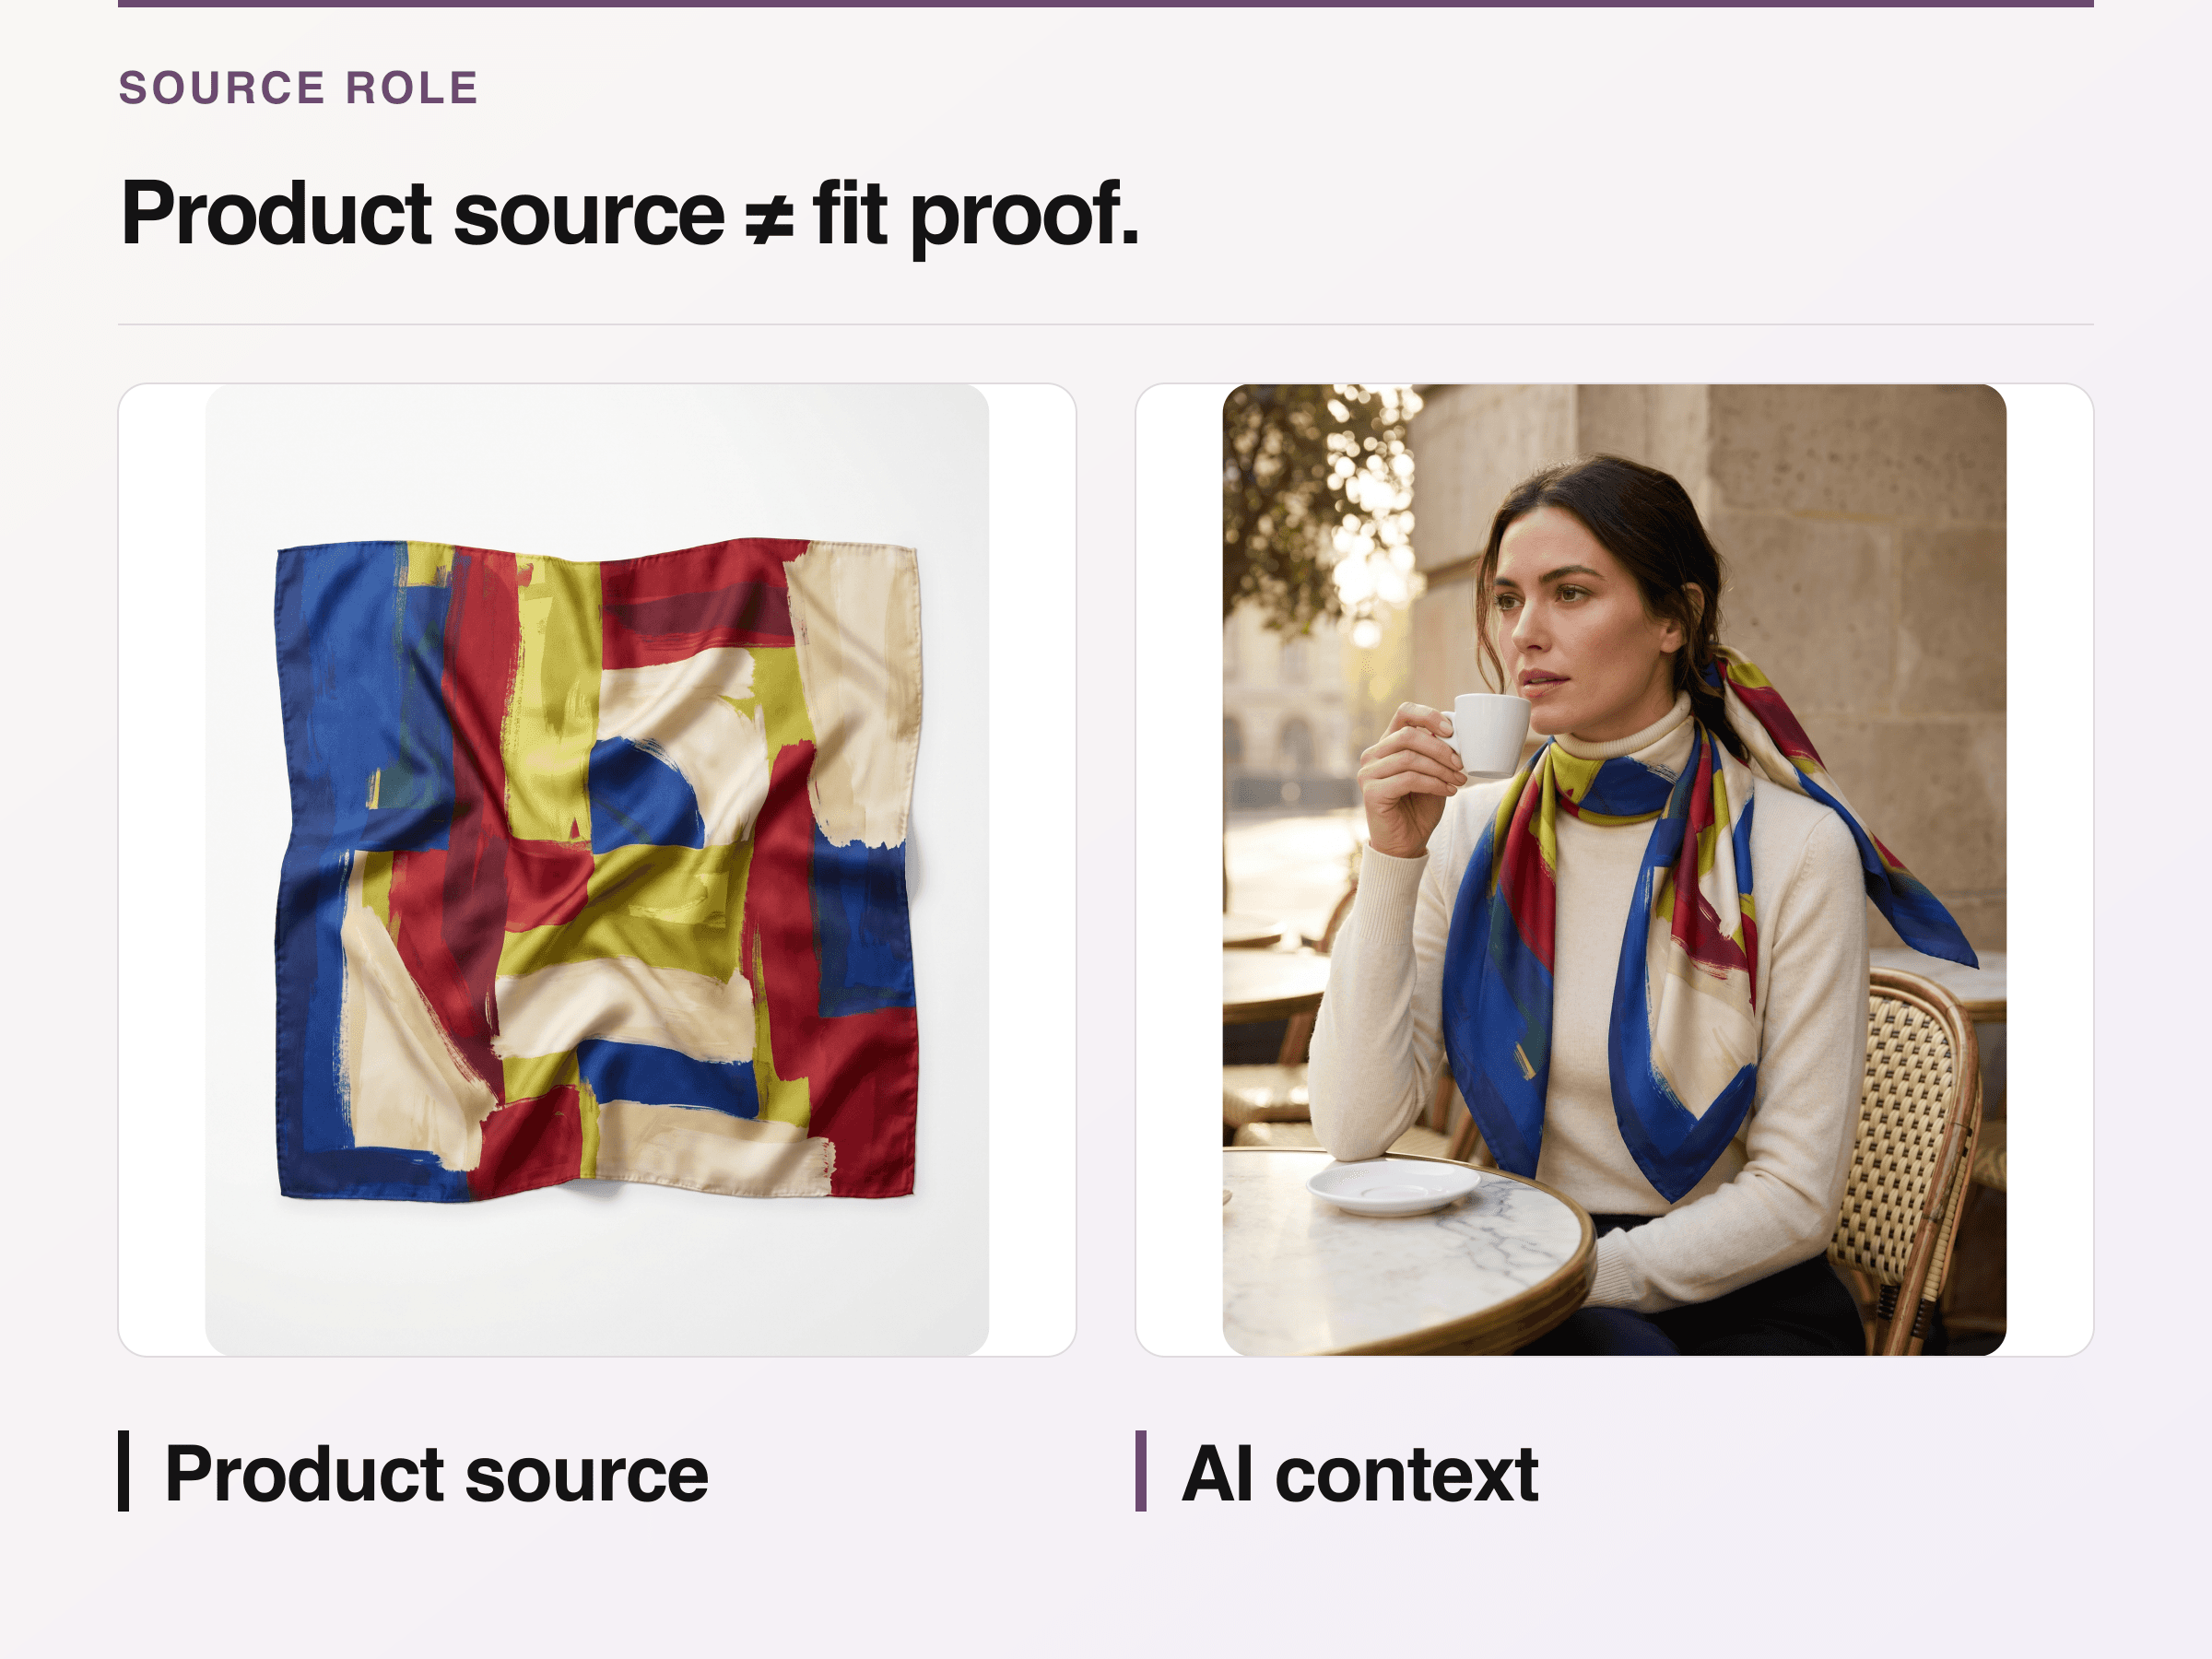
First-party same-SKU example: compare visible pattern, border, and color. The derivative adds context but does not prove fit or scale.
Check the output for neckline, seams, trim, print placement, hardware, color, proportion, and any detail a shopper could reasonably interpret as product fact. A generated model image can show styling and context. It cannot prove exact fit on a specific body, and it should not replace the factual source views.
The right final move is to save the set specification with the approved master: camera or phone, lens or 1x module, height, light positions, exposure, white balance reference, crop guide, export profile, and the name of the person who approved color. That record turns a good flat lay into a repeatable production standard.
