
Flat lay photography is the simple art of arranging objects on a flat surface and shooting them from directly above. You can think of it as a bird's-eye view that tells a story, showcases products, or organizes a concept into a clean, easy-to-digest visual.
What Is Flat Lay Photography
At its heart, flat lay photography is a powerful way to tell a story by stripping away all the usual distractions. Imagine looking down at a chef's station with every ingredient perfectly placed or a designer's desk with a sketchbook, coffee, and tools laid out in a neat grid.
This overhead perspective gives the viewer a clear, complete picture, which is why it has become so incredibly popular for social media, e-commerce, and editorial content. It just works.
The style's meteoric rise is tied directly to the camera in your pocket. The first digital camera was actually developed way back in 1975, but the real explosion happened when powerful cameras became small enough to carry around. In 2003, a staggering 80 million camera phones were sold, and by 2006, their sales had already surpassed traditional cameras.
Photography was suddenly for everyone. This newfound access made it easy for anyone to experiment with the straightforward, top-down composition that defines a flat lay. You can explore a full timeline of photography's evolution for a deeper dive into this massive shift.
The Building Blocks of a Flat Lay
Every great flat lay is built on the same foundational elements. Getting a handle on these components is the first step to mastering the technique yourself. They all work together to create a cohesive and visually appealing image that communicates a clear message, all without needing complex angles or fancy environments.
Here’s a quick look at the fundamental building blocks that make up any flat lay shot.
Core Elements of Flat Lay Photography at a Glance
Element | Description | Key Consideration |
|---|---|---|
Surface | The flat background where items are placed. | Should complement the items, not compete with them. |
Hero Item | The main subject or focal point of the photograph. | Must be positioned to draw the viewer’s eye first. |
Props | Supporting objects that add context and visual interest. | Should be relevant to the story you're telling. |
Lighting | How the scene is illuminated, affecting mood and clarity. | Soft, diffused light is ideal to minimize harsh shadows. |
Composition | The arrangement of all items within the frame. | Needs balance, creating a sense of order and flow. |
Once you understand how to control these five elements, you have everything you need to start creating compelling flat lay images.
The Surprising History of the Flat Lay Style
If you scroll through any social media feed today, you'll inevitably find those clean, perfectly organized overhead shots we call flat lays. They feel so modern, so intrinsically linked to the internet era, that it's easy to assume they just popped up overnight. But the real story is far more interesting and starts somewhere you'd never expect: a furniture workshop.
The journey from a practical organizational hack to a celebrated art form is what gives the flat lay its power. It’s not just a passing trend; it’s a method of visual storytelling with a surprisingly deep history.
From Workshop Bench to Art Gallery
Let's go back to 1987. The scene is a furniture store owned by the legendary architect Frank Gehry. A janitor named Andrew Kromelow, tasked with tidying up, started arranging the scattered tools and hardware on a flat surface. He placed everything at neat 90-degree angles, creating a perfectly clear visual map of what was there. He called this method "knolling."
For years, knolling was just an obscure workshop principle. That all changed in 2009 when the American sculptor Tom Sachs discovered and embraced it. Sachs elevated Kromelow's practical system into an artistic philosophy, even coining the motto, "Always Be Knolling." This was the moment that bridged the gap from workshop tidiness to the aesthetic we now recognize as flat lay photography. The creative journey from knolling to flat lay photography is a fascinating look at this evolution.
"The most important thing a person can do is find a way to derive some pleasure from their work. Knolling is a way of doing that." – Tom Sachs, Artist
That core idea—finding satisfaction and clarity through careful arrangement—is really the heart and soul of a great flat lay. It’s what turns a simple collection of items into a story.
The Technology That Made It Mainstream
Of course, a great idea can't go global without the right tools. The explosion of the flat lay style owes a huge debt to the rapid evolution of camera technology. What was once a niche technique became accessible to everyone, everywhere.
This timeline really puts into perspective how quickly the power to create high-quality images was placed in our hands.
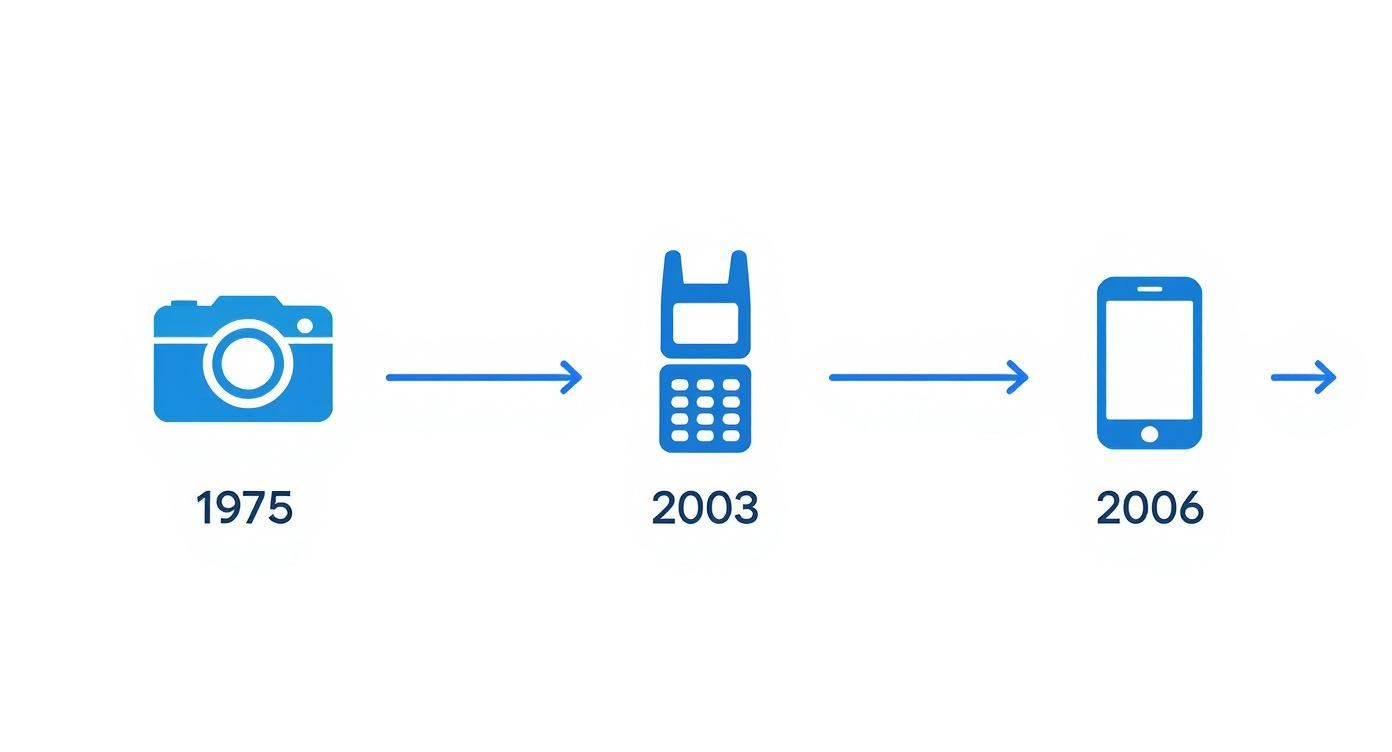
As you can see, the jump from professional-grade digital cameras to the smartphone in your pocket completely changed the game. Suddenly, anyone could capture and share a simple, top-down photograph, making the flat lay the perfect medium for a new visual age.
Why Flat Lays Are a Game Changer for Brands
In the endless scroll of a crowded digital marketplace, a product photo has just a split second to make someone stop. This is where flat lay photography really comes into its own. It's more than just a simple product shot; it's a powerful way for brands to tell a story and, ultimately, drive sales. The clean, top-down perspective isn’t just an aesthetic choice—it's a strategic one that delivers clarity and builds trust.
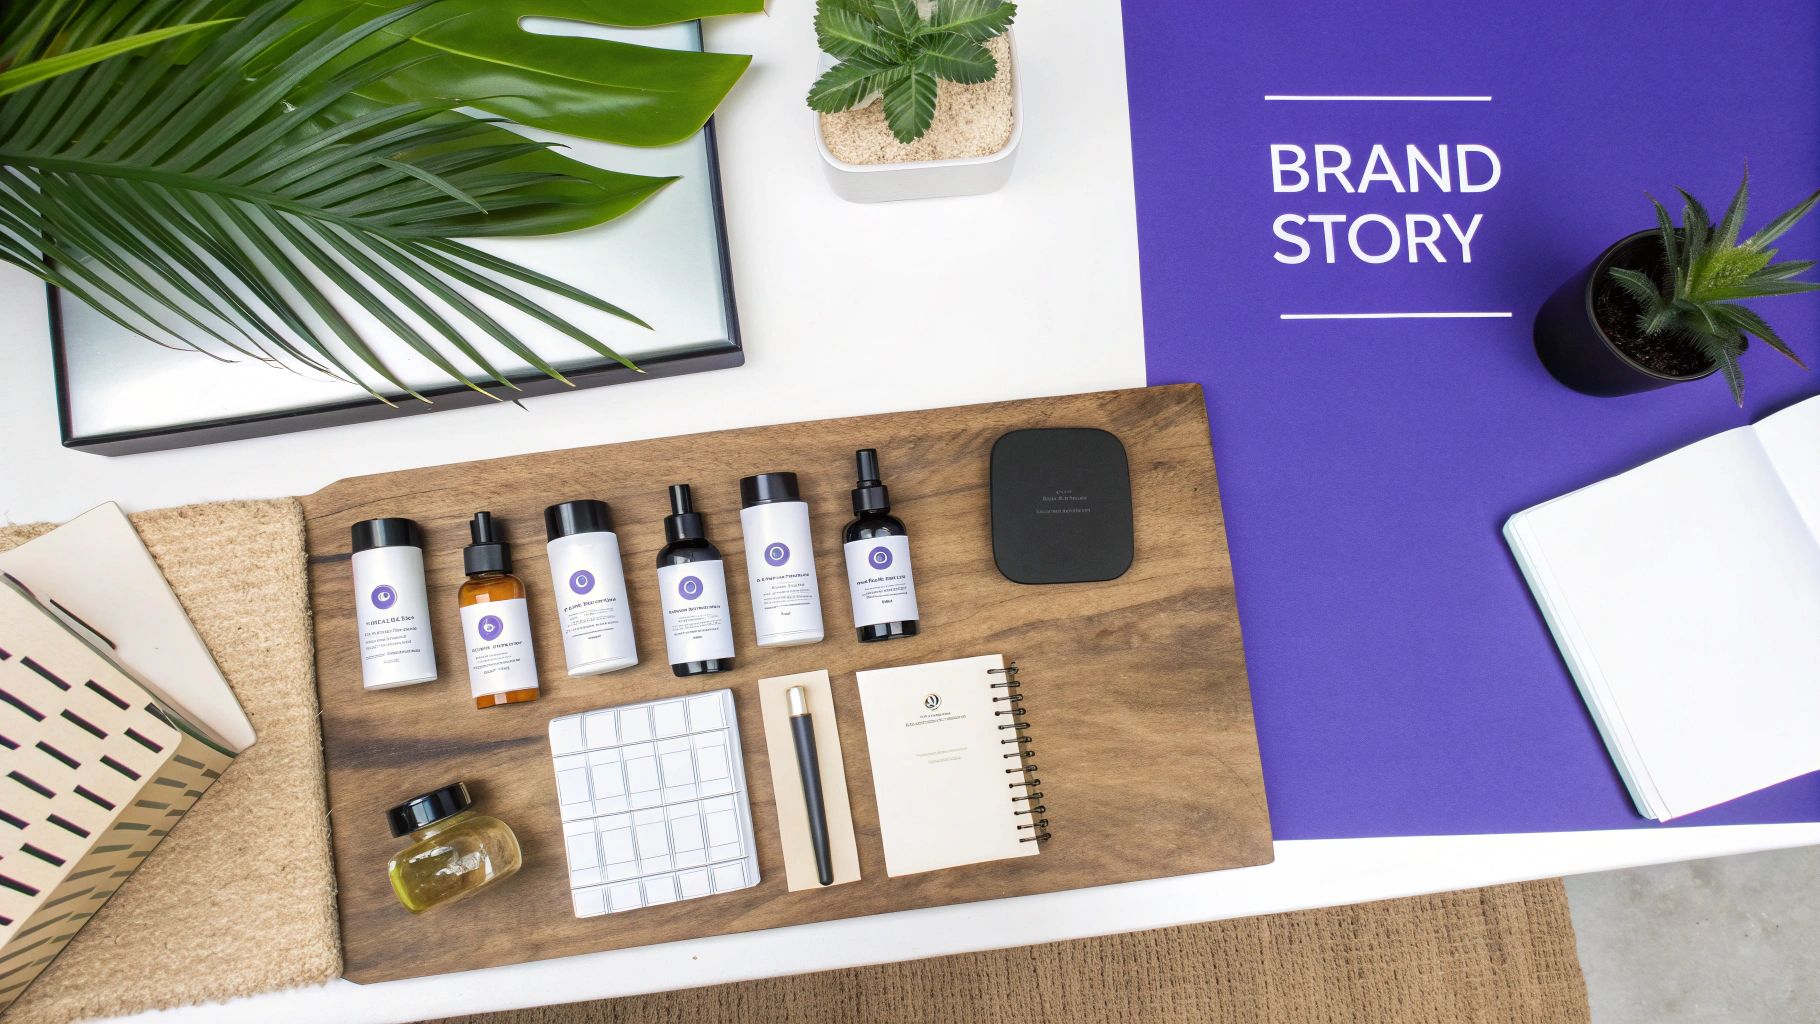
Shooting from directly overhead gets rid of distracting backgrounds and weird angles. This lets a potential buyer focus completely on what matters: the product's details, texture, and quality. Think about a skincare brand showing off the rich consistency of a cream next to the fresh botanical ingredients it’s made from. Or a tech company unboxing a new gadget to lay out every single accessory that comes in the box. This organized, intentional look isn't just nice to look at; it communicates professionalism and transparency.
When a customer sees a product presented so clearly and honestly, it sends a powerful message that the brand has nothing to hide. That's how you start building trust before they even think about clicking "add to cart."
Transforming Products into Experiences
A truly great flat lay does more than just show an item; it builds a whole world around it. By choosing props and backgrounds carefully, you can create a narrative that helps customers imagine the product in their own lives. This kind of visual storytelling is one of the most effective ways to forge an emotional connection with your audience.
Here are a few ways brands nail this technique:
Showcasing an Outfit: A fashion brand can lay out a complete look—a sweater, jeans, boots, and a scarf—to show customers exactly how the pieces work together.
Deconstructing a Recipe: A food blogger might arrange all the vibrant ingredients for a recipe, making it feel less intimidating and inspiring their followers to get into the kitchen.
Revealing a "What's in My Bag" Scene: A lifestyle brand can empty out a handbag to display its wallet, keychain, or planner, positioning them as must-have items for everyday life.
Suddenly, a simple product listing becomes a relatable, shoppable moment.
The Economic Impact of Great Visuals
The impact of high-quality images isn't just a hunch; it’s a major force in the e-commerce world. E-commerce product photography, where flat lays are a go-to style, makes up a huge slice of the pie—about 45% of the entire commercial photography market.
This segment is valued at around $163.91 million for 2025 and is expected to jump to $275.4 million by 2030. These figures point to a simple truth: brands that invest in professional, compelling visuals are setting themselves up for serious growth. You can dive deeper into the commercial photography market and its future trends for more insights.
By turning products into well-styled narratives, flat lays give brands a versatile asset that works across websites, social media, and email marketing, ensuring a consistent and compelling visual identity that drives real business results.
At the end of the day, the magic of flat lay photography is in how it blends clarity with creativity. It gives brands a structured-yet-flexible canvas to communicate value, build trust, and turn passive scrolling into active engagement and sales.
Crafting Your Story with Composition and Styling
This is where the art of flat lay photography truly comes alive. A great shot isn't just a random assortment of objects on a background; it's a story, carefully told. Think of composition and styling as your storytelling tools—they guide the viewer's eye, create a mood, and build a connection.
Imagine you're a film director arranging a set. Every prop you place and every bit of empty space has a job to do. Honestly, the process is about 90% planning and setup and only 10% actually clicking the shutter. Your goal is to create an image that looks intentional yet feels completely natural.
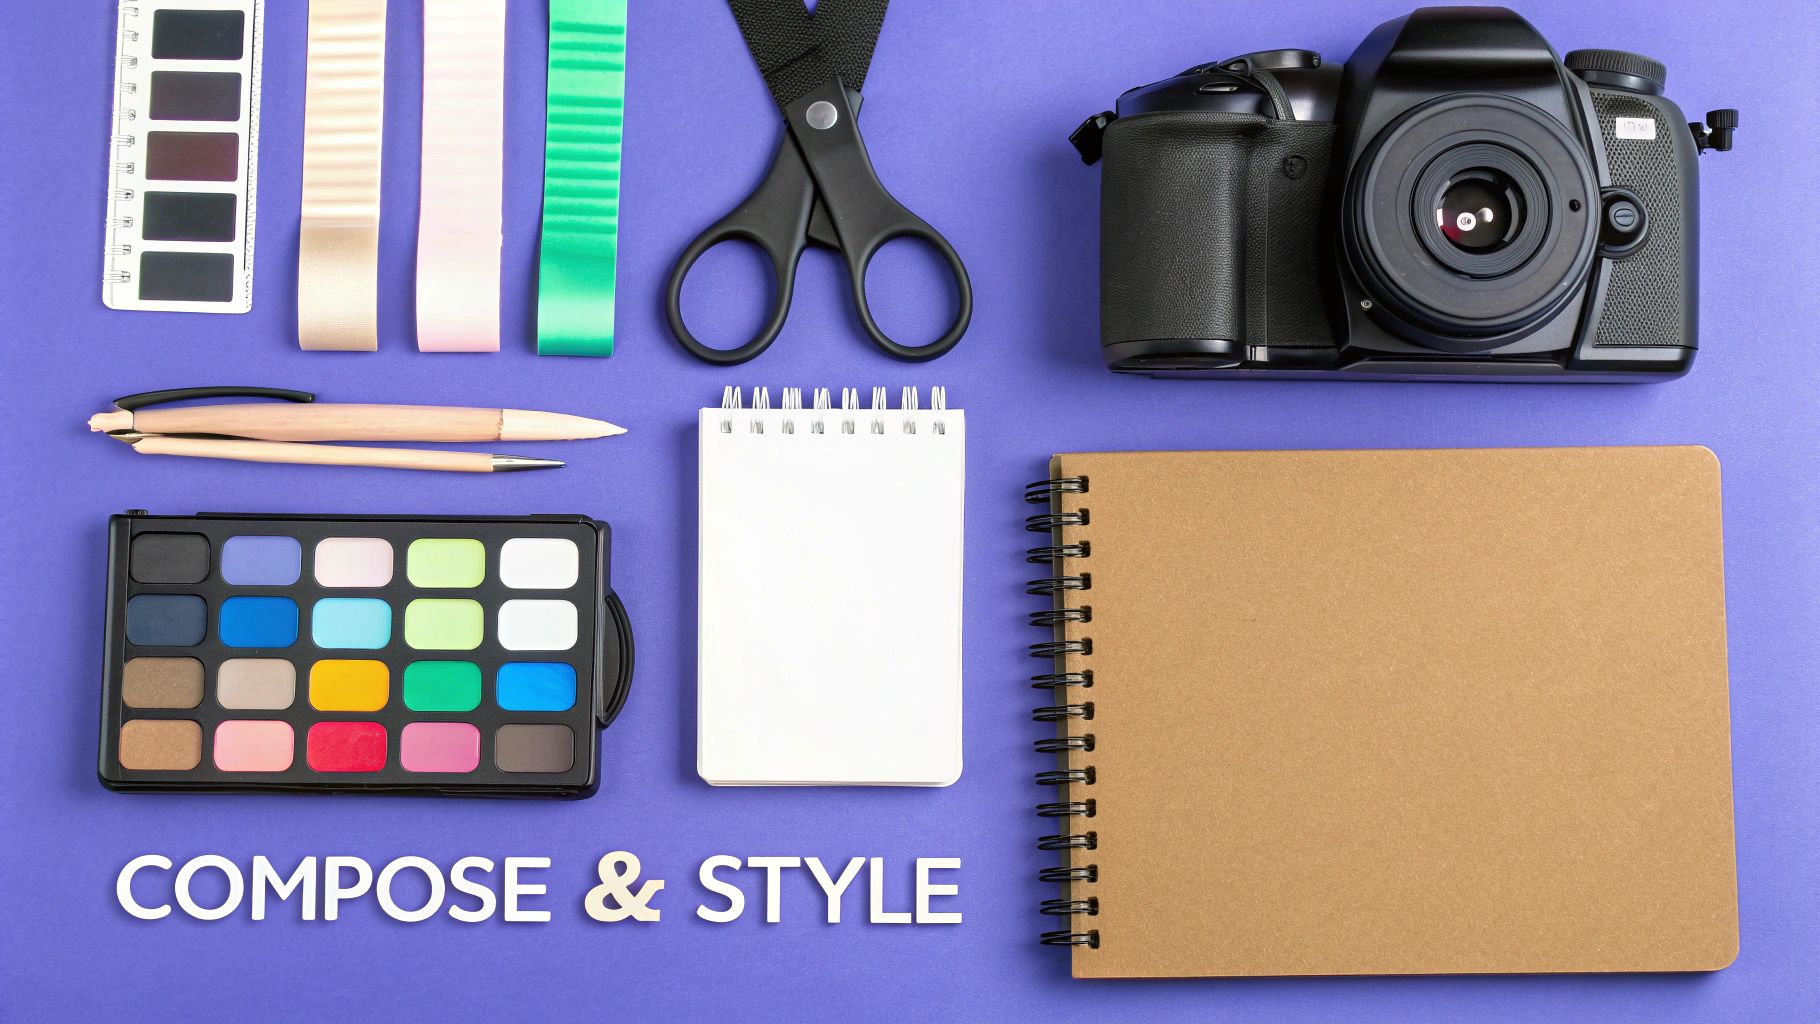
Building Your Narrative with Props and Color
Before you even think about touching your camera, you need a theme. What's the story here? Is it a cozy morning with a cup of coffee? A hyper-focused work session? A bright, summery vibe? This central idea will be your north star for every styling decision you make.
Your main product is the hero item—the star of the show. The props you choose are the supporting cast, and they’re there to give your hero context. A good prop fits seamlessly into the scene and adds to the story without stealing the spotlight. For example, if you're shooting a new planner, props like a sleek pen, a pair of glasses, or a mug of coffee instantly communicate productivity and focus.
Color is your secret weapon for tying everything together. A deliberate color palette makes the whole image feel cohesive. You could try:
Monochromatic Colors: Using different shades of the same color for a clean, sophisticated vibe.
Analogous Colors: Pairing colors that sit next to each other on the color wheel (like blue and green) to create a feeling of harmony.
Complementary Colors: Using colors from opposite sides of the wheel (like orange and blue) for a bold, high-contrast look that really pops.
Mastering Compositional Rules
Composition is simply how you arrange everything in the frame to create a sense of balance and guide the viewer's attention. It might sound like a purely artistic skill, but it’s actually based on some tried-and-true principles that just work. These aren't strict rules to follow, but rather a reliable framework for building a beautiful shot.
One of the biggest mistakes I see is clutter. The aim is to add interest, not to fill every inch of the frame. Every single element should have a reason for being there, helping tell the story without overwhelming your main product.
Getting a handle on these two principles will immediately level up your flat lays:
The Rule of Thirds: Picture your frame divided by a 3x3 grid. Instead of dead-centering your hero item, try placing it along one of the lines or at an intersection. It almost always creates a more dynamic and engaging photo.
Negative Space: This is just the empty space around your objects. Don't be afraid of it! A little breathing room keeps your scene from feeling crowded and helps pull the viewer’s eye right to the important stuff. It makes the entire composition feel cleaner and more deliberate.
By combining a clear story, strategic props, a smart color palette, and solid composition, you can turn a simple setup into a powerful visual narrative. If you're shooting for e-commerce, you might also want to check out our detailed guide on how to take professional product photos.
Your Essential Flat Lay Photography Toolkit
You don't need a massive, Hollywood-style studio to create knockout flat lay photos. The truth is, you can get stunning, professional-looking results with a surprisingly simple setup—and you probably already have most of what you need. The journey can start with nothing more than your smartphone and a good, sunny window.
From there, you can slowly build out your kit as you get more experience. While a modern smartphone camera is incredibly powerful, stepping up to a DSLR or mirrorless camera gives you finer control over settings like aperture and shutter speed. This can add that extra layer of polish, but remember: fantastic lighting and a well-thought-out composition will always beat expensive gear.
The secret to great flat lay photography is 90% planning and setup and only 10% the technical act of taking the picture. Your tools simply support your creative vision.
This really just means your first goal should be mastering how to arrange your items and control your light, not just buying more equipment.
Building Your Basic Setup
To get started, you only need a handful of core items. Taking this minimalist approach lets you focus on the fundamentals of styling and lighting without getting bogged down by complicated tech. A simple, effective setup can elevate your images right away.
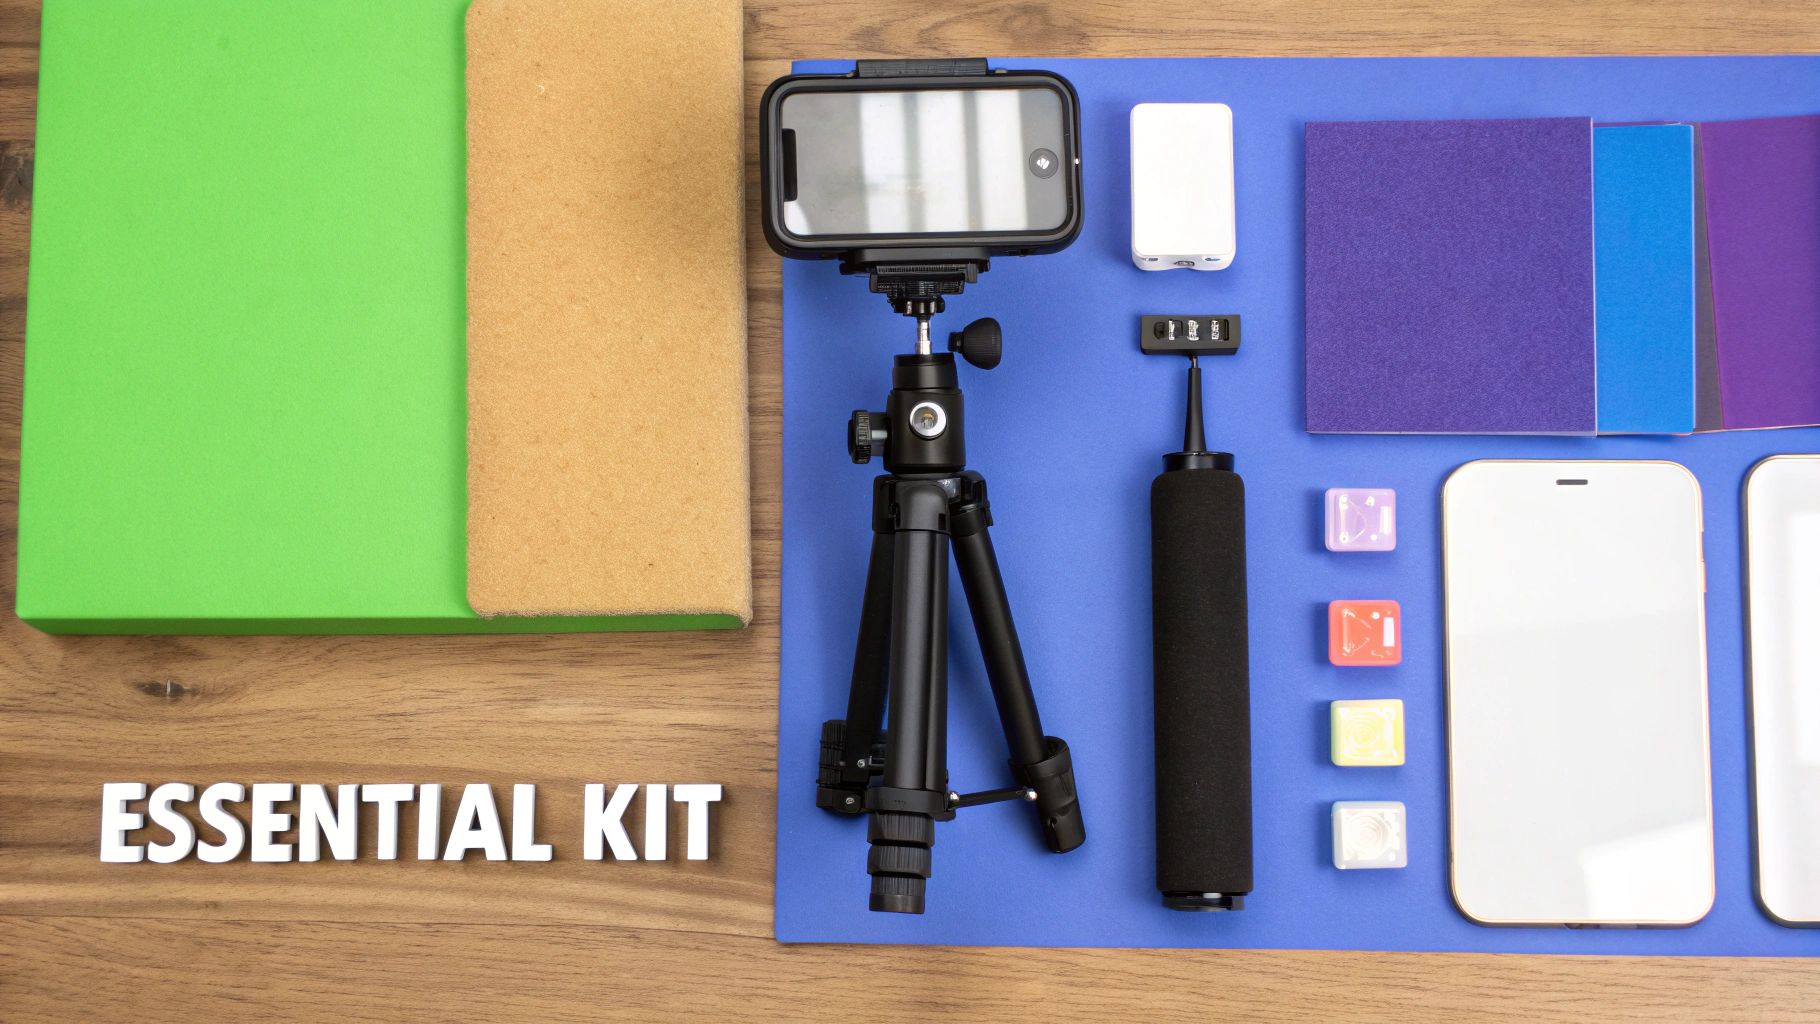
Here’s a rundown of the absolute essentials:
A Camera: Your smartphone is the perfect tool to begin with. The camera is more than capable of producing high-quality shots for social media, websites, and online stores.
A Light Source: Find a large window with plenty of indirect natural light. This is your best friend, as it creates a soft, diffused light that keeps harsh shadows at bay.
A Tripod or Stand: To nail that perfect 90-degree overhead angle, stability is non-negotiable. An overhead phone mount or a tripod with a horizontal arm is crucial for getting sharp, consistent shots every time.
A Backdrop: Think of this as your canvas. Start simple with a piece of poster board, some craft paper, or even a clean wooden floor. The key is picking a surface that complements your product instead of competing with it.
Light Modifier: A simple piece of white foam board is one of the most valuable tools you can own. You'll use it to bounce light back into shadowy areas, creating a more even and professional-looking image.
For anyone ready to create a more dedicated shooting space, our guide on building a DIY product photography setup has some great ideas for taking it to the next level.
Natural Light vs. Artificial Light for Flat Lays
As your skills grow, you'll eventually come to a crossroads: should you stick with natural light or invest in an artificial source like a softbox? Both have their pros and cons, and the right choice really boils down to your specific needs, budget, and how you like to work.
This table breaks down the main differences to help you decide.
Lighting Aspect | Natural Light (e.g., Window) | Artificial Light (e.g., Softbox) |
|---|---|---|
Cost | Completely free and always available (during the day). | Requires an initial investment in lights, stands, and modifiers. |
Consistency | Can be unpredictable. It changes with the weather and time of day. | Offers 100% consistent and controllable light, anytime. |
Quality | Produces a soft, beautiful, and authentic-looking light. | Can be harsh without modifiers, but it's incredibly versatile. |
Convenience | You're limited to shooting during daylight hours near a good window. | You can shoot anywhere, anytime, giving you total freedom. |
Ultimately, many photographers use a combination of both. But when you're starting out, mastering the free, high-quality light from a window is the best way to learn the fundamentals of shaping light.
Avoiding Common Flat Lay Photography Mistakes
Great photographers learn from their mistakes, but the best ones learn from the mistakes of others. Think of this as your cheat sheet for sidestepping the common pitfalls that trip up newcomers, helping you get those professional-looking shots much faster.
One of the first things to go wrong is almost always the lighting. When a scene is lit poorly, you get those harsh, distracting shadows that hide product details and just scream "amateur." This is the classic result of shooting in direct, unforgiving sunlight or right under a single, harsh ceiling light.
The fix is surprisingly simple: always work with soft, diffused light. Try setting up next to a big window on an overcast day. If the sun is out, you can hang a thin white sheet over the window to soften the light. Still seeing shadows? Grab a piece of white foam board and place it opposite your light source to bounce light back into the dark spots.
Overcrowding and Confusing Props
Another classic mistake is just plain clutter. It’s so easy to get carried away and fill every last inch of the frame with cool props, but this almost always backfires by overwhelming the actual subject. If your audience can't figure out what they're supposed to be looking at, the photo hasn't done its job. The goal is to add context, not create chaos.
To avoid this, start by identifying your hero item. From there, make sure every single prop you add has a reason for being there. Ask yourself, "Does this support the story, or is it just a distraction?" Don't be afraid of negative space—those empty areas are crucial for letting your composition breathe.
The secret to a successful flat lay is knowing when to stop adding things. A clean, intentional arrangement will always be more powerful than a cluttered one. Less is truly more.
Finally, a lot of beginners grab props that just don't fit the story. Tossing a random succulent or a coffee mug into every shot can feel disjointed and lazy. Your props need to feel like they belong, reinforcing the theme of your main product.
Before you start: Pull together a quick mood board or just a list of props that actually make sense with your theme.
As you style: Keep stepping back to look at the big picture. If something feels off or out of place, take it out.
By steering clear of these three common blunders—bad lighting, clutter, and irrelevant props—you'll see a huge improvement in your flat lay photos. It's not about having the fanciest gear; it’s all about making smart, intentional choices.
Your Flat Lay Questions, Answered
Once you’ve got the hang of the basics, a few specific questions always seem to pop up. Think of this section as your quick-reference guide for those little technical hurdles and creative sticking points that can make all the difference.
What’s the Best Lens to Use for Flat Lays?
For DSLR or mirrorless cameras, you really can’t go wrong with a 50mm lens. It’s often called a "nifty fifty" for a reason—it captures a scene very similarly to how the human eye sees it, which means you get a natural perspective with very little distortion. If you’re shooting smaller products or want to get in really close for detail shots, an 85mm or 100mm macro lens is also an excellent choice.
Using your smartphone? Stick with the standard camera lens. The most important thing is to avoid the ultra-wide setting. While great for landscapes, it tends to warp and stretch the edges of the frame, which will make your perfectly arranged props look distorted.
How Do I Keep My Camera Perfectly Level?
That perfectly straight, top-down angle is the signature of a true flat lay, and getting it right is crucial. The best tool for the job is a tripod that features a horizontal arm or a 90-degree center column. This lets you extend the camera directly out over your scene, ensuring it’s perfectly parallel to the floor.
If you're working with a heavier camera setup, a C-stand with a boom arm is the professional standard and offers incredible stability. For smartphone shooters, a simple overhead phone stand is an inexpensive but highly effective way to lock in that angle. Before you press the shutter, always turn on your camera’s gridlines or use a digital level app to double-check that everything is perfectly flat.
Success in flat lay photography depends far more on your understanding of light, styling, and composition than on the brand of your camera. Great lighting and thoughtful arrangement are the true keys to a professional image.
Can I Really Take Good Flat Lays with Just a Phone?
Absolutely! Don't let anyone tell you otherwise. The cameras in modern smartphones are incredibly capable and more than up to the task.
The secret is to focus on what matters most: light and composition. Find a spot with bright, soft light, like next to a large window on a cloudy day. Arrange your items with care and intention. For a deeper dive into this, check out our complete guide on the best lighting for product photography.
Once you've taken the shot, use a mobile editing app like Adobe Lightroom Mobile or Snapseed to make final tweaks. A little polish can take your phone photo from good to truly professional.
Ready to create stunning, on-model visuals without the cost and complexity of traditional photoshoots? With Look Atlas, you can generate ultra-realistic product photos and videos in minutes. Transform your basic images into powerful marketing assets that are proven to sell. Explore Look Atlas and start creating today.