
Light Box for Jewelry Photography: Setup, Reflections, and QA
A light box for jewelry photography is useful when you need a repeatable catalog setup, not a machine that makes every piece look right by itself. Its diffused walls tame hard light and replace much of the room reflected in polished metal. The camera opening, cards, background, stone, and shape of the piece still determine the result.
Treat the box as a controlled starting environment. Build one neutral setup, photograph a documentary view, then change only the reflection or sparkle you are trying to improve. This method makes the result easier to repeat and easier to approve against the physical product.
Decide whether the box earns its footprint
Choose the box when | Open the set when |
|---|---|
You need consistent PDP images across many small pieces | You need dramatic shadows or long, directional gradients |
The room is creating unwanted reflections | The camera angle needs more freedom than the openings allow |
Operators must reproduce a saved setup | Large necklaces or props do not fit without crowding |
The brief calls for a clean catalog base | The hero concept needs separate flags, scrims, or accent lights |
Choose the enclosure for repeatable access; open the set when the required gradient, shadow, or prop work needs more room.
The deciding factor is access, not the number of LEDs advertised. Leave room to slide a white or black card beside the jewelry, move the background, and adjust the support without dismantling the set. A box that barely fits the product may produce an even white field while preventing the small reflection changes that make metal look dimensional.
For a mixed catalog, measure the largest piece, its stand, and the working distance of the lens before choosing a box. Front and overhead openings are useful, but removable diffusion panels and side access usually give more control than a long list of fixed shooting ports.
Build the smallest controllable setup
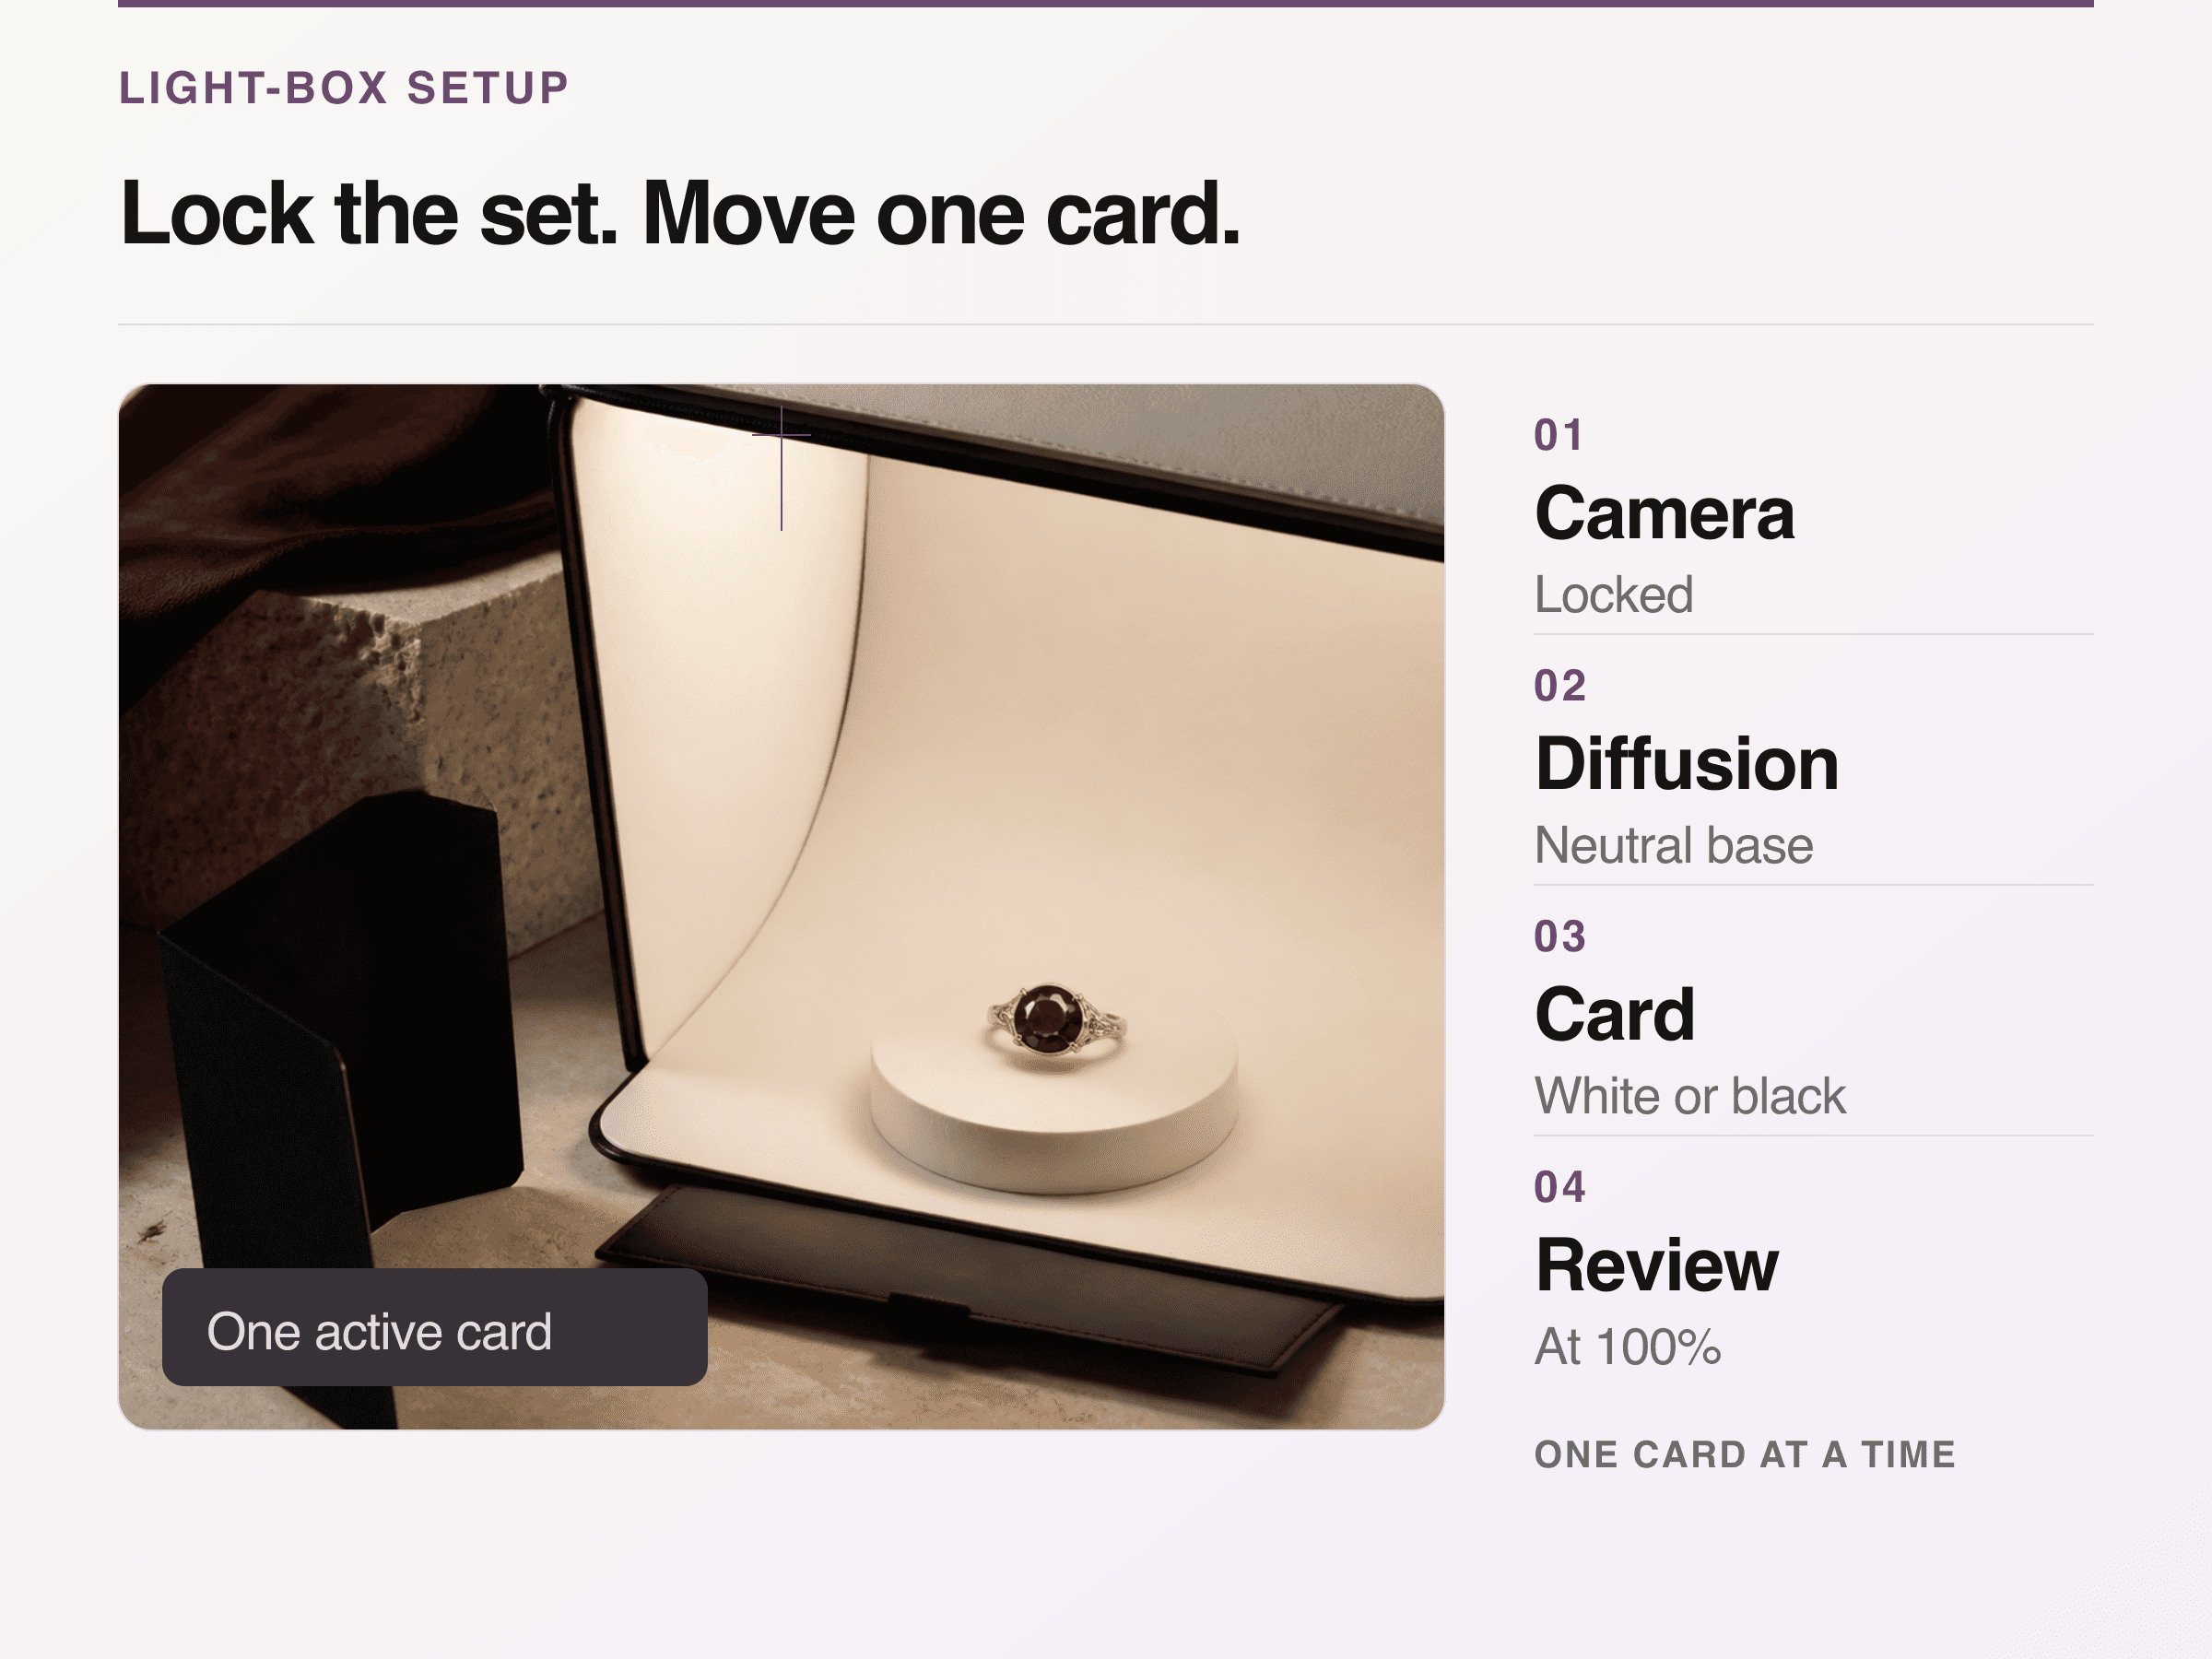
Setup map: lock the camera, establish diffusion, then move one white or black reflection card at a time.
Start with one piece and one view. Do not add sparkle, props, or a second light until the base frame is correct.
Clean the jewelry, support, sweep, cards, and handling tools. Use a gem cloth and tweezers where appropriate.
Turn off conflicting room light. Use one stable light source and one white-balance method for the batch.
Choose a background that separates the outline without changing the perceived metal or stone color.
Mount the camera on a tripod. Frame the straight-on or three-quarter catalog view before experimenting with dramatic angles.
Place a broad white card outside the frame to fill an unwanted dark area. Add a narrow black card only where an edge needs definition.
Photograph a neutral reference and record the light, camera, lens, distance, background, card positions, and support.
Review the first file at 100 percent while the set is still intact.
Save a phone photo of the finished set beside the written settings. The geometry of the cards often matters more than the camera settings, and a setup photograph makes tomorrow's batch reproducible.
Light the stone and the metal as separate jobs
Polished metal does not reveal shape because it is evenly bright. It reveals shape through the bright and dark environment reflected across its curves. A broad white card creates a soft highlight; a narrow black card creates an edge or tonal break. Trying to eliminate every reflection usually leaves gold, silver, or platinum looking flat.
Gemstones need a different decision. The Gemological Institute of America's guide to gem and jewelry photography explains that diffused light can show color, soften shadows, and produce smooth tonal gradients on polished metal, while direct light can create sparkle and dispersion. For a faceted transparent stone, establish truthful color under diffusion first, then test a small directional accent. For an opaque or carved stone, a more directional source may be needed to reveal surface relief. Pearls generally benefit from broad, clean highlights that describe roundness without clipping the surface.
Do not mix daylight, warm room bulbs, and the box lights. GIA's practical gem-photo guidance recommends a controlled light environment and permits color correction only to bring the photograph back to the real object. A more saturated stone is not a better photograph if it is no longer the stone being sold.
Change one reflection variable at a time
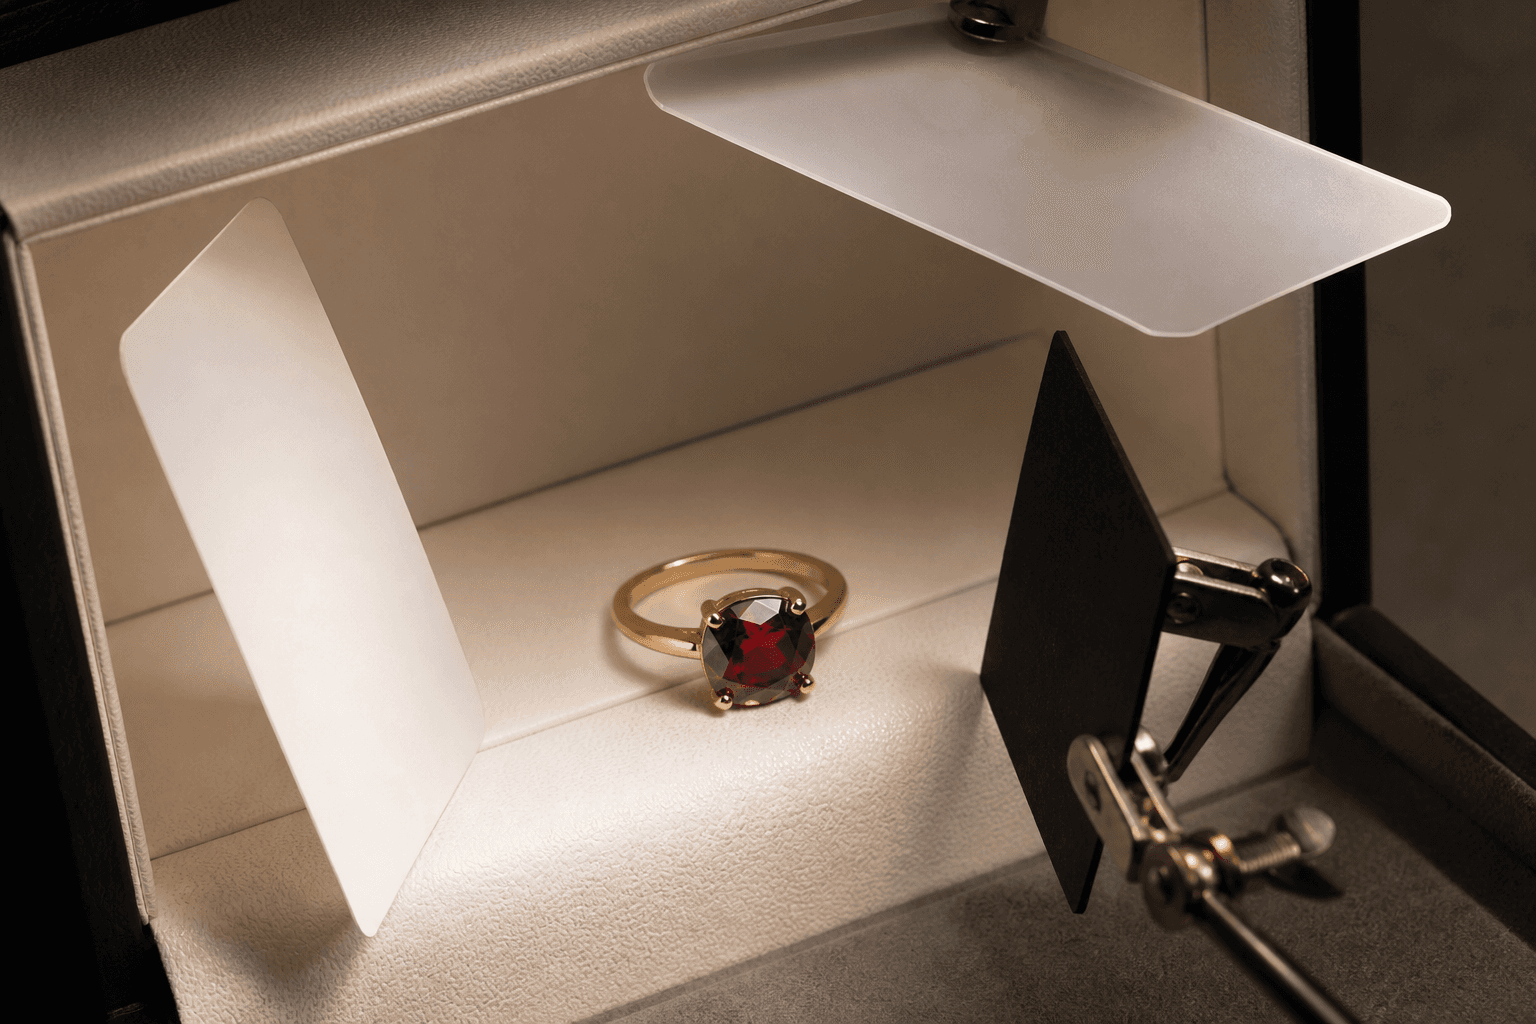
Conceptual illustration: one card-based light-box setup, not a controlled A/B/C capture or evidence of an outcome.
A useful comparison is evidence only when the frames are controlled. Use the same authorized piece, camera position, crop, focus, exposure, white balance, background, and base diffusion for all three frames:
Frame A: diffusion only. This records the box's neutral baseline.
Frame B: one broad white fill card. Judge whether a dark area opens without erasing the metal's curvature.
Frame C: one narrow black edge card. Judge whether the new dark band clarifies an edge without becoming a distracting stripe.
Label the changed variable under each frame. Do not call unrelated jewelry images a before-and-after test. If the controlled capture has not been made from an approved Look Atlas or customer-owned source, publish the visual only as a clearly labeled setup concept, not as proof of an outcome.
Watch the live view while moving a card a few centimeters at a time. The card can be outside the camera frame and still dominate the jewelry's surface. If the lens appears as a black hole in the front of a ring or watch, reduce the opening where safe, surround the lens with a light card, or alter the angle slightly. Keep each intervention reversible so you can return to the accepted baseline.
Lock the camera before touching the piece
Use a tripod and the lowest practical ISO for a clean master. Choose the aperture for the depth the product needs, then let shutter speed follow because the subject and camera are stationary. Very small apertures can soften fine detail through diffraction, so do not assume the highest f-number is automatically safest.
Focus manually at a magnified live view or tethered preview. A ring photographed at an angle may not be sharp from the front prongs to the back of the band in one frame. First try aligning the focal plane and adjusting the view. Use a careful focus stack only when the product genuinely exceeds the available depth of field, and inspect the composite for halos, doubled prongs, missing links, or broken engraving. If multiple captures were combined, record that in the production notes.
Do not reposition the piece while tuning exposure. Fix the camera, approve the framing, and alter only one production variable at a time. This prevents an apparently better lighting test from also being a different angle, scale, and crop.
Approve at 100 percent, not fit to screen
Inspect the master beside the physical piece or an approved reference. Preserve any source sent into an AI scene and review its output separately. The current public demo below proves only that source-first workflow, not light-box performance or output fidelity. The selected silver bracelet and generated gold necklace differ; reject that mismatch.
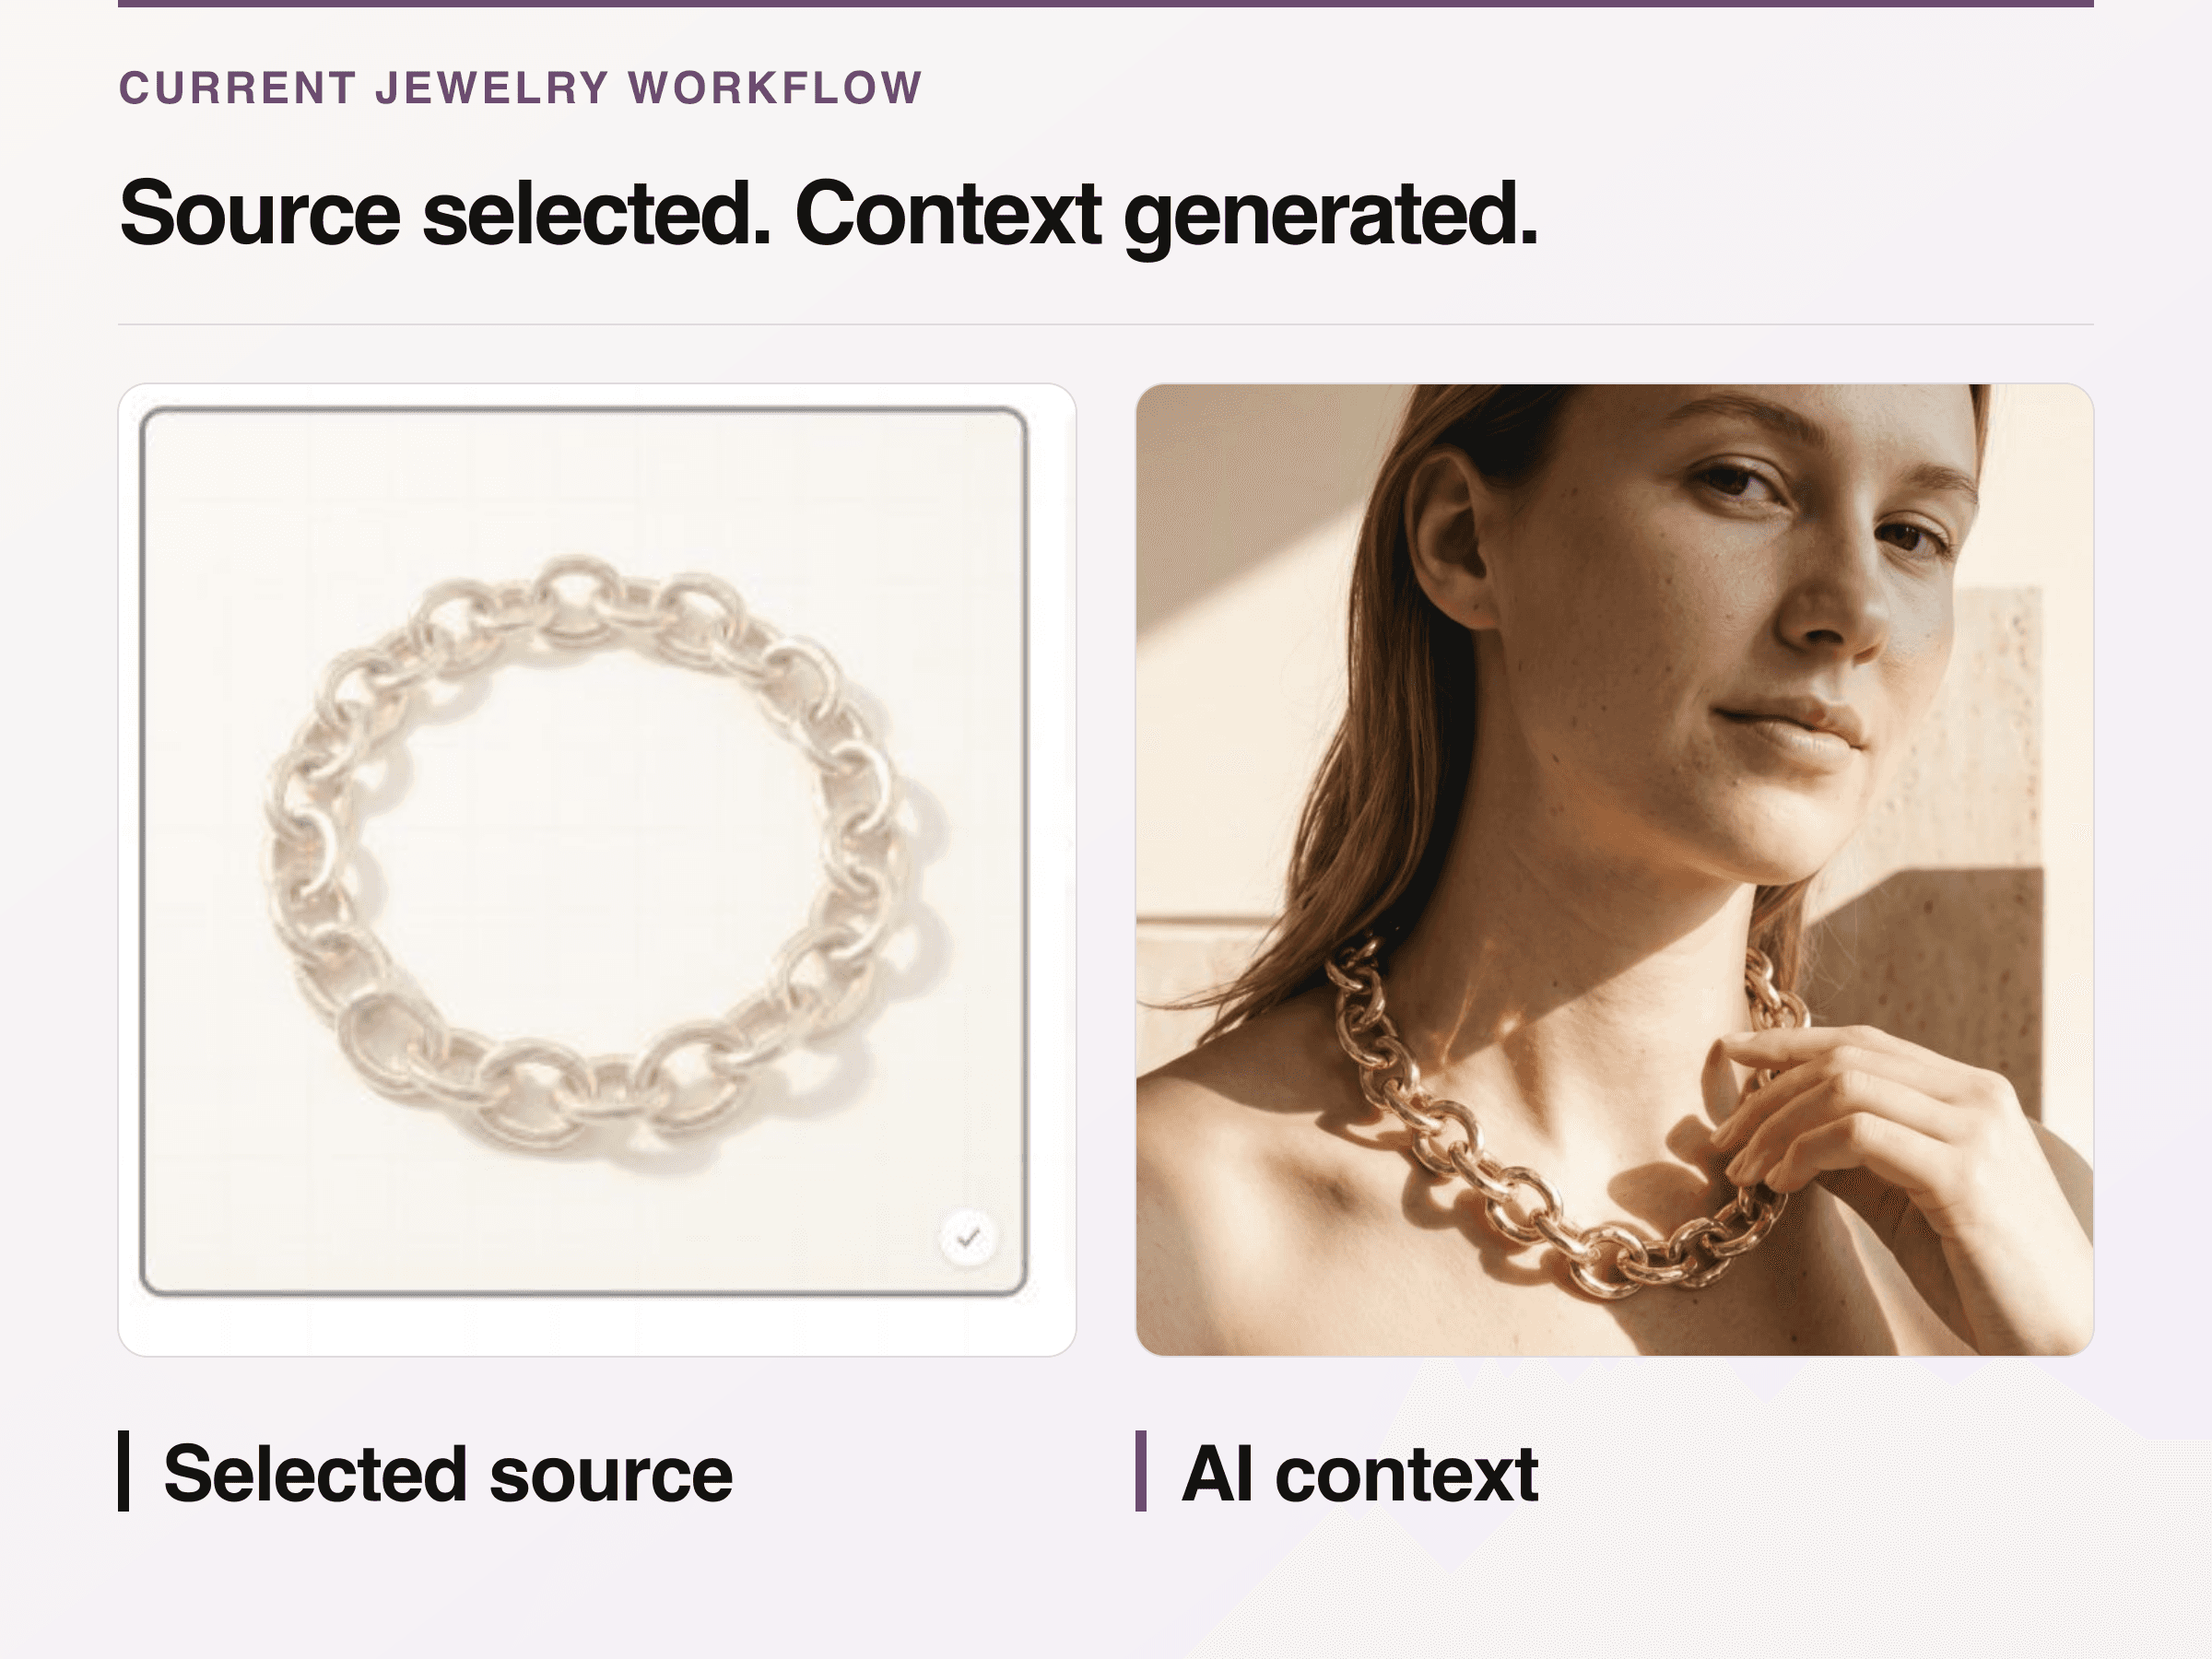
Current product screenshot, captured 1 Sep 2026: the source remains visible before generation. Because the jewelry differs visibly, this demonstrates the interface sequence and the need for product-level rejection QA—not fidelity or physical-lighting performance.
Use this release sequence:
Cleanliness: no dust, fiber, fingerprints, adhesive, or support material that should not be visible.
Construction: prong count, clasp, links, posts, setting height, engraving, and stone geometry match the product.
Color and finish: stone color, metal tone, polish, texture, and patina remain truthful.
Focus: the selling details are sharp and any focus stack is free from seams or duplicated edges.
Reflections: gradients describe form; no unexplained room color, camera hole, or clipped band dominates the piece.
Scale and crop: the item is large enough to inspect without creating a misleading impression of size.
Output: the approved master is preserved before channel-specific crops or compression.
Google Merchant Center's product image specification requires the image to show the correct product and match attributes such as color, pattern, and material. That turns fidelity review into a distribution requirement, not merely an aesthetic preference.
Know when to leave the box
A light box is strongest at repeatable catalog views. Move to an open set when the brief needs a long gradient across a necklace, a precise shadow, a highly directional sparkle, or enough space for on-body styling and props. Separate diffusion panels and flags take longer to arrange, but they let each surface be shaped independently.
That does not make the box a failed purchase. It gives the production system a reliable base capture and a clear escalation rule. If three small card changes cannot create the required result, stop crowding the enclosure and rebuild the light outside it.
For the wider studio sequence, the professional jewelry photography guide covers planning beyond the box. The product photography workflow explains how to move from brief to approved master, while the ecommerce photoshoot guide places those frames within a full channel shot list.
Extend only an approved source
An approved catalog master can support later scene or on-model exploration. In the Look Atlas jewelry workflow, use the clean, truthful product view as the source, generate the intended context, then compare every output back to the master. Reject any change to stone shape, setting, prongs, chain, metal color, engraving, or apparent scale.
The operating rule is simple: diffuse for a controllable base, shape metal with reflected cards, add direct light only for a defined material reason, and approve the file against the real piece at full resolution. A light box becomes valuable when it makes those decisions repeatable.
