
Still life product photography: build the set one prop at a time
A prop can improve a still-life arrangement and quietly spoil the product inside it. The camera may show a clean composition while a tall object just outside the frame blocks light from the label. Raising exposure changes the whole photograph without identifying what changed on the set.
For still life product photography, start with a clear product-only frame, then build the arrangement one item at a time. Review each addition for two different effects: what it contributes inside the photograph and what it does to the light reaching the product. This method suits small tabletop sets for cosmetics, packaged goods and home accessories.
Build a usable scene before styling it
Choose the photograph's job before selecting a surface. A campaign image might need room for copy; a product detail image might need an unobstructed label and a clear silhouette. Write that requirement in one sentence so an attractive prop cannot quietly replace the product as the subject.
A workable starting set is a stable table, a plain surface or paper sweep, the cleaned product, one controllable light source and a camera held in a repeatable position. A phone on a secure support can serve that last purpose. Turn off unrelated room lights if they introduce unwanted shadows or mixed lighting. Adobe's still-life guide treats the arrangement as a controlled place to explore light, surfaces and composition, rather than a requirement for elaborate equipment.
Place the product first. Choose a view that shows the feature the photograph needs, leave the required copy space, and take an unstyled reference frame. Check focus on the important surface and inspect dust or fingerprints before adding objects that make cleaning awkward. The professional product photo guide covers the broader capture foundations.
Keep the camera position, focus, exposure and white balance consistent while comparing styling changes. If a phone automatically adjusts these, lock what it allows and treat the comparison cautiously. A moving exposure setting can hide the effect being investigated.
What the image needs to do | Set decision to make before styling |
|---|---|
Leave room for campaign copy | Reserve the actual copy area before introducing props. |
Show a label or surface detail | Keep that region unobstructed and take a clean reference frame. |
Suggest a material or use | Add one relevant object without implying it is included in the purchase. |
Carry a deliberate shadow | Identify which feature may enter shadow and which must remain clear. |
Proposed set decisions: confirm the actual placement and product requirements before styling.
Add one prop with a specific purpose
Give each addition a job: support the product, suggest a use, introduce a material relationship or balance an otherwise empty area. A folded textile might provide a quiet contrast to a ceramic pot. It should not obscure the pot's edge or imply that the textile comes with the purchase.
Take another frame after adding it. First inspect the composition: does the product still lead, is its outline clear, and has the reserved space survived? Then compare the product itself with the reference. Look for a newly darkened label, an altered highlight or an unexpected shadow.
These are separate decisions. A prop can be outside the crop yet still affect the scene. Conversely, a visible prop may contribute exactly the shadow or reflection the image needs. The aim is deliberate control, not a blanket rule against shadows. Photographer Chris Howlett's lighting guide explicitly describes flags and black cards as tools for blocking light. An unintended obstruction uses the same basic opportunity without the same intention.
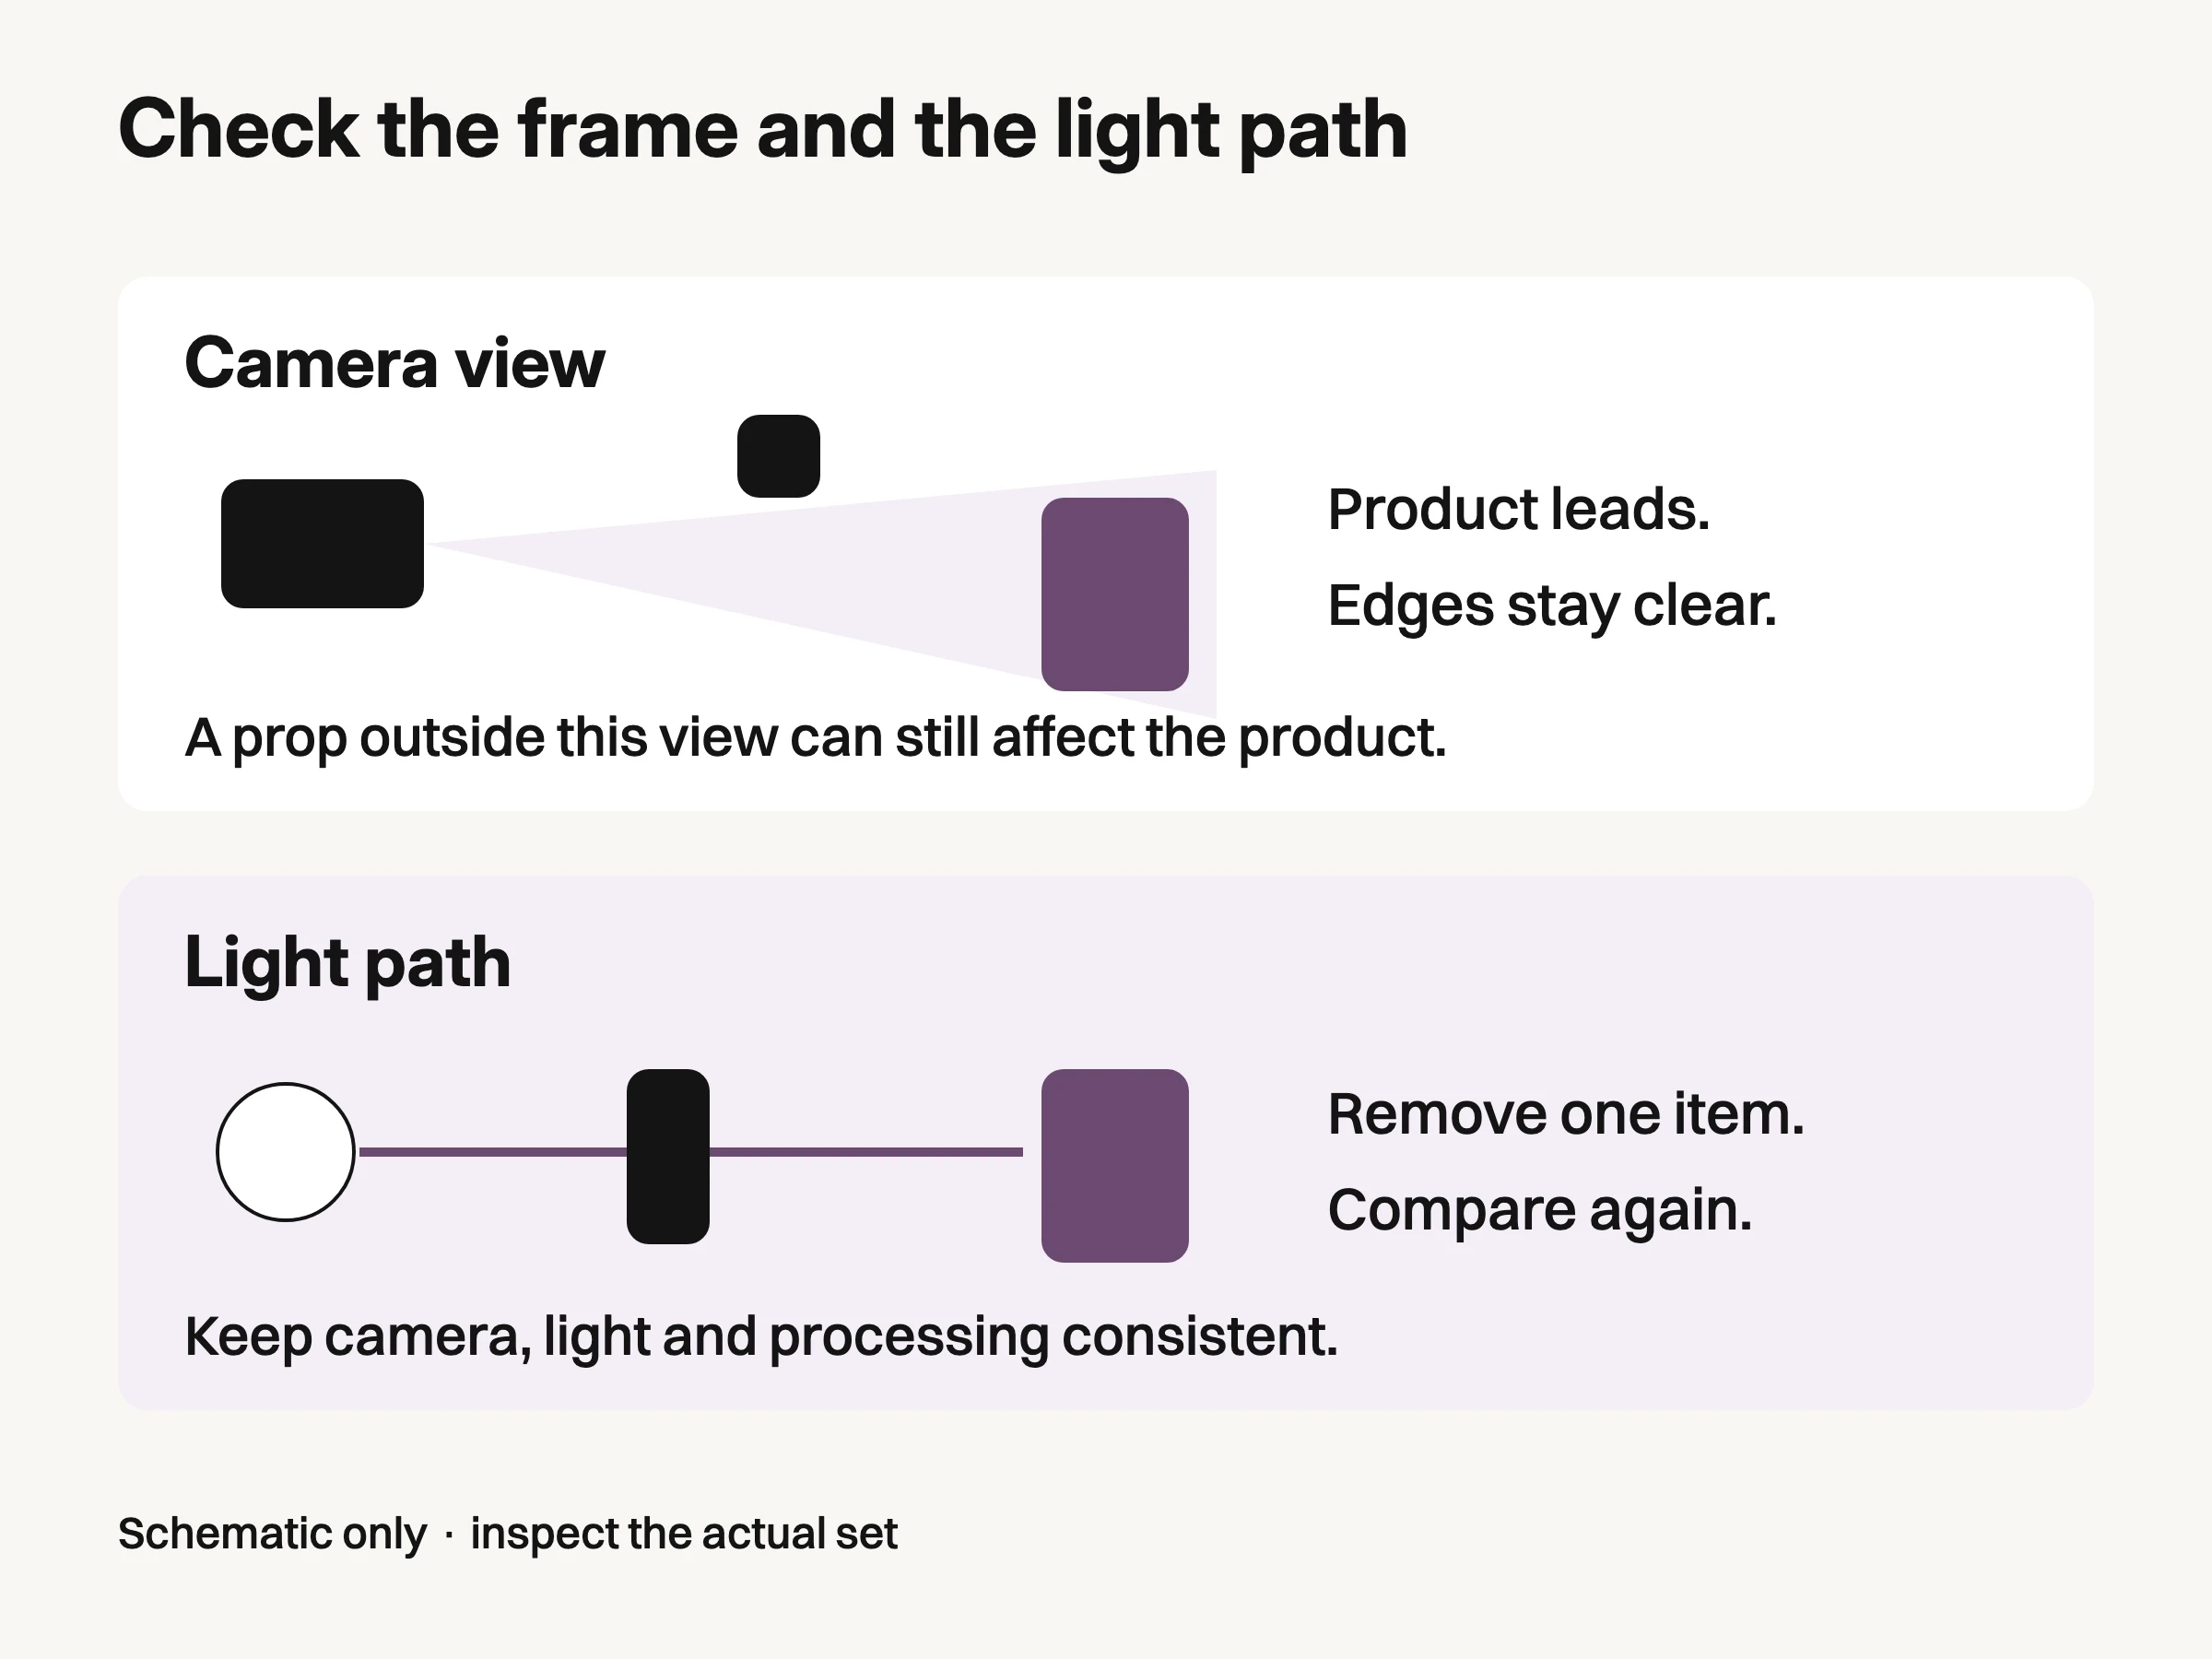
Original schematic: a composition check and a light-path check answer different questions. It is not measured set geometry.
Diagnose the change by removing one item
If the product becomes harder to read after styling, leave the camera and light where they are. Remove the most recently added item and make another frame with the same settings. Compare the same product region across the pair, using the same editing or preview treatment.
If the affected region returns toward its earlier appearance, the addition is implicated under those conditions. That does not yet establish whether it blocked light, reflected something or disturbed another part of the set. Inspect the item's position and material, then move it in one direction and repeat. A glossy prop needs a different explanation from an opaque block casting a shadow.
If removal makes no useful difference, stop blaming that prop. Check whether the light changed, the product rotated, the support moved or automatic processing changed the preview. With daylight, a cloud passing between captures can invalidate a simple before-and-after inference. Recreate the baseline before drawing a conclusion.
Photographer Sefa Yamak's still-life walkthrough discusses how reflective surfaces and cards alter what a product reflects. The shadow demonstration below isolates one diagnostic case; it cannot model every material on a tabletop.
The object outside the frame still changes the image
The following controlled example was rendered locally for this article. It uses an original geometric package, a tabletop and an opaque block. The camera, modeled product, materials and light stay fixed. Only the block's presence changes.
In the first capture, the block sits entirely outside the camera's image area but casts a shadow onto the package. In the second, removing it changes the visible shading of the front patch and upper surface. No exposure adjustment is involved. The retained scene coordinates put the block's projected right edge to the left of the image boundary, so it is not merely hidden behind the product.

Controlled geometric example: only the off-camera opaque block changes. Camera, light, product and materials remain fixed. Actual local WebGL captures, not physical lighting, material-fidelity or sales evidence.
This is a geometric shadow demonstration, not a photographed product test. It uses a Three.js directional light, whose rays are modeled as parallel, plus ambient illumination and shadow mapping. It does not predict the softness or brightness of a particular window, softbox or physical set. It also does not test reflections, material accuracy or conversion performance.
The useful result is narrower: excluding an object from the camera view does not exclude its effect on the light. That distinction gives a practical reason to inspect the space between the source and the product before changing the camera settings.
Finish with a scene you can explain and repeat
Once the arrangement works, inspect the actual intended crop and a larger view of the product. The crop confirms hierarchy and copy space; the larger view catches surface defects and detail lost in shadow. Do not assume that a dramatic scene replaces the factual product views a customer also needs.
Save the unstyled reference, the chosen frame and a quick record of camera, light and prop positions. Include objects outside the final crop. A set photograph that omits the troublesome flag is an incomplete rebuild instruction, even if the finished image looks immaculate.

Conceptual illustration: a separately generated fictional ceramic still life. It is not the hero product, geometric fixture or a tested lighting result.
If the production brief also calls for generated campaign variations, Look Atlas can create brand visuals from product imagery. Keep the real capture as the product reference and review each generated result for details that matter; a plausible shadow is not evidence that the product itself is accurate. Check current Look Atlas pricing when planning that part of the work.
Before dismantling the set, ask a colleague to identify the product's required feature in the final frame. If the styling hides it, remove the last addition and compare again. That short return to the baseline is more useful than trying to rescue an unexplained change with a brighter export.
