
So, how do you actually take professional-grade product photos? It all boils down to three key things: getting the right gear (which doesn't have to break the bank), mastering your lighting, and nailing down a solid shooting process. This guide is all about showing you how to get these fundamentals right to create images that stop the scroll and get people buying.
Why Great Product Photos Are Not Optional

In ecommerce, your photos are your product until the customer has it in their hands. They're your digital storefront, your 24/7 salesperson, and the first handshake with a new customer. People can't pick up your products, feel the texture, or see the quality up close, so they're counting on your images to do all the heavy lifting.
Think about your own online shopping habits. Are you drawn to blurry, dark photos, or do you click on the listings with bright, crisp images that show every single detail? Exactly. Your photography is a direct reflection of your brand's quality and how much you care about what you're selling.
The Real-World Impact of Killer Shots
Great photos don't just show an item; they create a feeling and spark desire. This isn't just fluffy marketing talk—it’s how online retail works. When a shopper sees a professionally shot product, they automatically assign it a higher value and feel more confident hitting that "buy now" button.
The market backs this up, too. The global product photography market was valued at $129 million in 2021 and is on track to hit $275 million by 2028. That’s a compound annual growth rate of 11.6%, which tells you just how essential top-notch visuals have become.
The bottom line is this: putting time and effort into your product photos is a direct investment in your business. Better photos mean more engagement, more trust, and more sales. It's that simple.
Setting Yourself Up for Success
Before we get into the nitty-gritty of camera settings and light placement, let's break down the core components that come together to create a fantastic product photo. Think of these as the foundation for a repeatable, reliable process.
This table breaks down the core components needed to achieve professional results, giving you a quick reference for what truly matters.
The Three Pillars of Professional Product Photography
Pillar | Key Elements | Impact on Final Image |
|---|---|---|
The Right Gear | Camera (DSLR, Mirrorless, or Smartphone), Tripod, Lenses, Backdrop | Determines the technical quality, clarity, and sharpness of the image. A stable setup ensures consistency. |
Controlled Lighting | Natural Light (windows) or Artificial Light (strobes, continuous lights), Light Modifiers (softboxes, diffusers, reflectors) | The single most crucial factor. It shapes the product, defines texture, eliminates harsh shadows, and sets the mood. |
Solid Technique | Styling, Composition, Camera Settings (Aperture, ISO, Shutter Speed), Shooting Workflow, Post-Processing | Brings the creative vision to life. This is where you arrange the product artfully and capture it consistently. |
Mastering these three areas—your gear, your light, and your process—will give you a system for producing excellent photos every single time.
Understanding how to take professional product photos isn't just a creative skill; it's a powerful business tool. And when you're ready to scale up and move beyond your own DIY setup, exploring advanced tools or professional services is the next logical step. For some one-on-one advice on taking your brand's visuals to the next level, feel free to get in touch with our team.
Now, let's get to it.
Choosing Your Gear: From Smartphone to DSLR
Let's get one thing straight right off the bat: the best camera for your product photos is probably the one in your pocket right now. Seriously. You don't need to drop thousands on new gear to create images that actually sell. The latest smartphones have cameras that are more than capable, and when you pair them with good lighting and solid technique, the results can be fantastic.
The real secret isn’t a fancy camera body; it’s all about controlling your environment. You can absolutely get sharp, high-quality product photos with an iPhone or Android. The trick is to stop just pointing and shooting and start building a stable, repeatable process.
Starting Smart with Your Smartphone
Your phone is more than good enough, especially when you’re just starting out. The goal here is to knock out the two biggest things that scream "amateur photo": shakiness and inconsistent framing. The single best investment you can make—and it's not an expensive one—is a simple tripod with a phone mount.
This one little piece of gear instantly elevates your entire setup.
It guarantees sharpness. No more motion blur from shaky hands. Your images will be noticeably crisper.
It creates consistency. You lock in your angle and framing, so every single product is shot from the exact same perspective. This is a must for a clean, professional look across your whole store.
It frees up your hands. Now you can use both hands to style the product, adjust a reflector card, or tweak the lighting without bumping the camera.
A sturdy tripod isn't just a nice-to-have; it's a non-negotiable tool for professional-looking product shots. It will do more to improve your image quality than a camera upgrade ever could.
Once your phone is locked down, get in the habit of using the timer function (a 2-3 second delay is perfect) or a cheap Bluetooth remote. This simple step prevents the tiny vibration caused by tapping the screen, which can soften an otherwise perfect shot.
When to Upgrade to a Dedicated Camera System
Once you've really dialed in your smartphone setup and find yourself wanting more creative control, it might be time to look at a dedicated camera. The main choice is between a DSLR and a mirrorless camera. Honestly, both produce beautiful images, but I lean toward mirrorless systems these days. They're generally lighter, more compact, and the live digital preview of your exposure is a massive help in a studio setting.
But no matter which camera body you pick, the real game-changer is your lens. That "kit lens" that comes with most cameras is fine to start with, but investing in a good prime lens will dramatically improve your images.
A 50mm Lens: Often called the "nifty fifty," this lens is the absolute workhorse of product photography. It captures products with a natural perspective, getting rid of that weird, unflattering distortion you sometimes see from wider lenses (like your phone's default camera).
A Macro Lens (like a 100mm): If you sell small, detailed items—think jewelry, watches, or intricate crafts—a macro lens is essential. It lets you get incredibly close to capture all those fine textures and details with stunning sharpness.
Essential Support Gear for a Flawless Workflow
Beyond the camera and lens, a few other key pieces of gear will save you countless headaches and frustrating reshoots. Think of them as the backbone of an efficient, professional workflow.
One of the most impactful upgrades you can make is shooting tethered. This just means connecting your camera to a laptop with a USB cable. As you take each photo, the image pops up instantly on your big computer screen instead of that tiny display on the back of the camera.
This is huge because it allows you to:
Check Focus Immediately: You can zoom way in and confirm your product is perfectly sharp right on the spot. No more discovering soft-focus shots later in editing.
Verify Lighting and Color: It’s so much easier to spot subtle shadows or weird color casts on a properly calibrated monitor.
Streamline Your Process: The images save directly to a folder on your computer, ready for editing. This completely speeds up the workflow from capture to final export.
This simple setup bridges the gap between shooting and editing, making the whole process feel much more seamless. And for businesses looking to create consistent visuals at scale, it's worth exploring how AI can help. For instance, services from Look Atlas can take your simple product shots and transform them into realistic on-model images, helping you scale up content without the logistics of a traditional photoshoot.
Mastering Light: The Secret to Stunning Photos
Let's get one thing straight: photography is really just the art of capturing light. This single element is what separates a forgettable snapshot from a professional product photo that actually drives sales. Before you even think about your camera, your ability to find, shape, and control light will have the biggest impact on your images.
The great news? You don't need a high-end studio to get incredible results. Some of the most beautiful product photos I've ever seen were taken using the most accessible light source there is: a window.
Harnessing Natural Light for Flawless Photos
The best light is often soft, diffused, and completely free. Natural light pouring through a large window on a slightly overcast day is the gold standard. It creates gentle shadows and brings out rich, accurate colors without any harshness.
Direct sunlight, on the other hand, is your enemy. It creates hard, distracting shadows and blown-out hotspots that can completely ruin a shot.
Your mission is to find that perfect spot in your home or office. Set up a table next to a large, north or south-facing window, as they tend to give the most consistent, indirect light. And a crucial pro tip: turn off all the other lights in the room. Mixing light sources is a fast track to weird, unnatural color casts.
This simple chart breaks down the essential gear for controlling your shot, which is fundamental whether you're using sunlight or studio strobes.
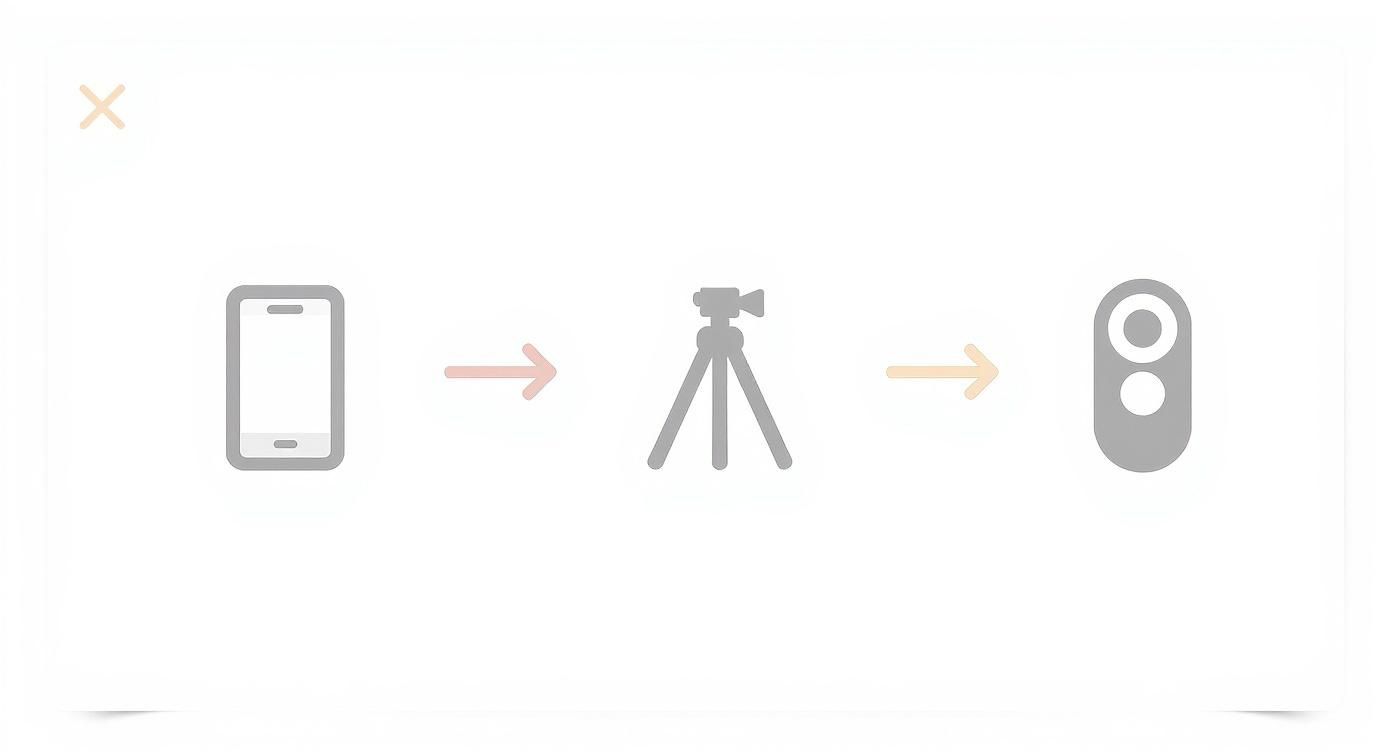
As you can see, getting professional results is about building a system—starting with a camera and then layering in the tools that give you stability and control.
Sculpting Light with Simple Tools
Once you've found a good light source, the real magic happens when you start to control it. You don't need expensive gear for this; a couple of items from a craft store can completely transform your lighting.
Diffuser: If that window light is still a bit too intense, soften it up. Hang a thin white sheet or even a piece of parchment paper over the window. This acts as a diffuser, scattering the light and creating a softer, more flattering effect, just like a professional softbox.
Reflector: See how one side of your product is bright and the other is lost in shadow? An easy fix. Grab a simple white foam board and use it as a reflector. Place it opposite your window to bounce light back into the shadows, brightening them up and revealing more detail.
By simply positioning a white foam board, you can instantly lift dark shadows and make your product look more balanced and professionally lit. This single, inexpensive tool is one of the biggest secrets to achieving that clean, high-end look.
Building a DIY Lightbox for Ultimate Control
When natural light is unpredictable (or you need to shoot at night), creating your own controlled environment is the way to go. A DIY lightbox is an incredibly effective and cheap way to get consistent, perfectly diffused light for every single shot.
It’s easy to make one. Just grab a cardboard box, some white tissue paper, and a white poster board for a seamless background. Cut out large "windows" on the top and sides of the box and tape tissue paper over them. Then, place two simple lamps on either side—make sure to use daylight-balanced LED bulbs (around 5000K) —and you've just built a mini-studio that delivers perfect, nearly shadowless light every time.
Stepping Up to Artificial Studio Lighting
For those ready to invest in a more professional and flexible setup, artificial lights give you absolute control. You can shoot any time of day and get perfectly repeatable results, which is a game-changer for e-commerce. The most common setups use one, two, or three lights.
The One-Light Setup
A single light source—usually a strobe or continuous LED panel inside a softbox—is a fantastic starting point. Place it at a 45-degree angle to your product. This becomes your key light, and it’s responsible for defining the main shape and texture of your item. All you need to do is add a reflector on the opposite side to fill in the shadows, and you've got a simple, clean, and highly effective setup.
The Two-Light Setup
Adding a second light gives you much more finesse in managing shadows. Here's how it works:
Key Light: This is your main, most powerful light. You’ll position it to one side to create shape and dimension.
Fill Light: This is a less powerful light (or just placed further away) that you'll put on the opposite side. Its only job is to soften the shadows created by the key light so they aren't too dark or distracting.
This setup gives you that balanced, polished look that's perfect for most e-commerce product shots.
The Three-Light Setup
The classic three-point lighting setup is the industry standard for a reason. It gives you the ultimate level of control and is amazing for making your product pop right off the background.
Key Light: Sets the main exposure and defines the product's form.
Fill Light: Softens and controls the shadows on the opposite side.
Backlight (or Rim Light): This is the secret weapon. Placed behind the product, this light creates a subtle, bright outline around its edges. This "rim" of light cleanly separates the product from the background, adding a ton of depth and a truly professional finish.
Getting a handle on these lighting principles is the most important part of learning how to take professional product photos. Whether you're using a free window or a full studio rig, knowing how to shape and control light is the skill that will elevate your images from amateur to amazing.
Styling, Composition, and Nailing Your Workflow
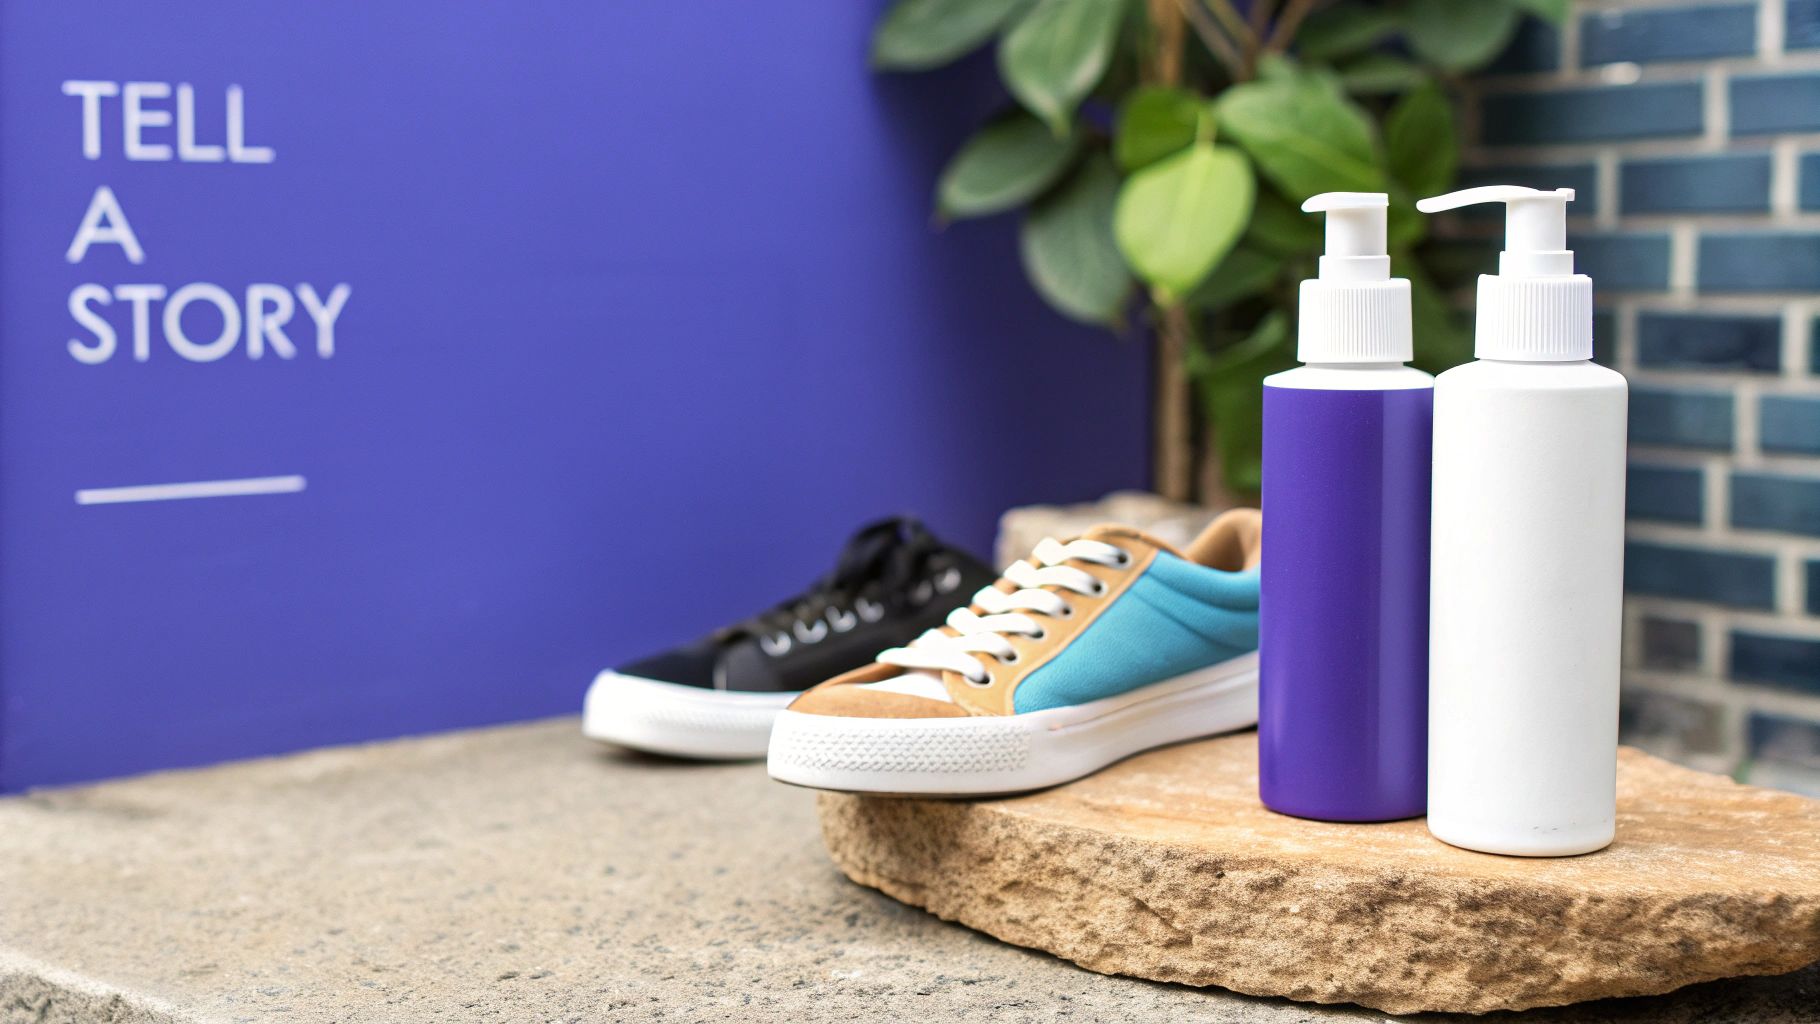
Alright, you've got your gear dialed in and your lighting is sorted. Now for the fun part. This is where we move beyond just documenting a product and start telling a story that makes someone need it. Styling and composition are what separate a simple snapshot from a professional, compelling product photo.
It all starts with your background. The surface you choose sets the entire mood. A clean, seamless paper backdrop is your go-to for that classic, Amazon-style e-commerce shot where the product is the absolute hero. But if you want a more lifestyle feel, try using materials like rustic wood, cool marble, or a soft linen fabric to place your product in a more relatable world.
Just remember, the backdrop is a supporting actor, not the star. Think about your brand's vibe. Are you modern and sleek? Or warm and handcrafted? Your background should echo that message, not fight it.
Building a Scene That Sells
Composition is just a fancy word for arranging things in your frame to guide your viewer's eye where you want it to go. It’s tempting to just stick your product smack in the center of every shot, but a few simple techniques can make your images feel much more dynamic.
The easiest and most effective trick in the book is the rule of thirds. Picture a tic-tac-toe grid over your screen. Instead of centering your product, place it along one of the lines or where two lines intersect. This immediately creates a more balanced, professional-looking image that invites the eye to wander around the frame.
Next up is negative space—the empty area around your product. Don't be afraid of it! Giving your product room to breathe makes it feel more important and premium. A cluttered photo screams chaos, but an image with intentional empty space feels clean, confident, and focuses all the attention right where you want it.
Don't just place your product; position it with intent. Use the rule of thirds to create visual flow and negative space to emphasize your subject. These two simple compositional tools will instantly make your photos look more professional and artfully considered.
Creating a Smart, Repeatable Shooting Workflow
Knowing how to take one great photo is one thing. Doing it efficiently for 50 different products is a whole different beast. This is where a repeatable workflow becomes your best friend, saving you from hours of frustration and ensuring your online store looks consistent.
The secret? A detailed shot list. Before you even think about picking up your camera, plan out every single image you need.
This list is your blueprint for the entire shoot. It guarantees you capture the same crucial angles for every item, which is vital for a cohesive and professional-looking shop.
For any given product, a solid shot list should include:
The Hero Shot: Your main image, typically a straight-on, eye-level view.
The 45-Degree Angle: This reveals depth and gives the product a more three-dimensional feel.
The Detail Shot: A tight close-up highlighting a unique feature, texture, or bit of craftsmanship.
The In-Context Shot: A lifestyle photo that shows the product in use or next to a prop to give a sense of scale.
By sticking to this list for every SKU, you build a consistent visual brand language. Not only does this look better to customers, but it also turns your shooting process into a well-oiled machine. You can just tick off the shots one by one without having to reinvent the wheel for every new item.
The payoff for this consistency is huge. As online retail continues to boom, great product photography has become a non-negotiable. In fact, some studies show that products with high-quality images can see a conversion rate bump of up to 30% over those with subpar shots. This is especially true in growing e-commerce markets where visuals are everything. You can read more about these e-commerce photography trends and how they drive sales.
Ultimately, a smart workflow takes your photoshoot from a chaotic creative session to a streamlined production line. You'll spend less time guessing and more time creating beautiful, effective images that actually sell.
Post-Processing: Where Good Photos Become Great
Clicking the shutter is just the start. The secret ingredient that turns a decent product shot into a professional, "add to cart" image often lies in the editing process. This is where you polish your work to create a consistent, high-end look that defines your brand.
Don't think of this as adding cheesy filters or faking what the product looks like. Instead, see it as the final quality check. It's your chance to fix tiny distractions and guarantee the photo is a true-to-life representation of the item, which builds customer trust and cuts down on returns.
The Essential First Adjustments
Before you get into the weeds of advanced retouching, every single photo needs a quick once-over. These initial tweaks are the foundation of a clean edit. You can handle them in free apps like Lightroom Mobile or go deeper with professional software like Adobe Lightroom Classic.
Start with these three fundamentals:
Crop and Straighten: Is the product sitting a little crooked? A slightly off-kilter photo is a dead giveaway of an amateur shot. Use the gridlines in your editing software to get everything perfectly aligned. Crop the image to the ideal aspect ratio, like a 4:3 horizontal frame, which works great for most e-commerce thumbnails.
White Balance: This is non-negotiable for color accuracy. If the "white" background in your photo has a yellow or blue tint, your product’s color is also off. The easiest fix is the eyedropper tool—just click on a neutral white or gray area in the photo, and the software will instantly correct the entire color cast.
Exposure and Contrast: You want the product to be bright and clear, but not so bright that you "blow out" the highlights and lose all the detail. Tweak the exposure until it's just right. Then, add a touch of contrast to make the image pop and give the product more definition and depth.
Editing isn't about deception; it's about accuracy. The goal is to make your photo look exactly like the product does in real life under perfect lighting conditions. Your customer should get precisely what they see.
Advanced Retouching for a Flawless Finish
With the basics nailed down, you can move on to the small details that really elevate an image. This is where a tool like Adobe Photoshop becomes your best friend for achieving that polished, commercial look you see from top-tier brands.
Two techniques are especially crucial for e-commerce:
Spot Healing: No matter how much you clean, every product will have tiny specks of dust, fingerprints, or minor scuffs that a macro lens will pick up. The Spot Healing Brush in Photoshop is like a magic eraser. You just click on these little imperfections, and they vanish seamlessly.
Creating a Pure White Background: For marketplaces like Amazon or your own Shopify store, a pure white background (#FFFFFF) is the gold standard. Photoshop’s ‘Select Subject’ tool does a surprisingly good job of creating a clean outline of your product. From there, you can refine the selection with a layer mask and drop your perfectly cut-out product onto a new, pure white layer.
Prepping Your Images for the Web
The final step is exporting your images, and this is where you balance quality with performance. A massive file will look amazing, but it will also slow your website to a crawl, which is bad for both user experience and your SEO rankings.
Here are the go-to settings I use for almost everything online:
File Type: JPEG is the workhorse here. It gives you the best balance between image quality and a manageable file size.
Color Space: Always, always export in sRGB. It's the universal standard for the web, ensuring your colors look right on any browser or device.
Image Size: I find that around 2000px on the longest side is the sweet spot. It's high-res enough for customers to zoom in but not overkill.
Quality: Export at a quality setting of 70-80%. This can slash your file size without any noticeable drop in visual quality.
The bar for professional product photography is constantly rising, with modern benchmarks demanding high-resolution files and perfect color. To keep up, photographers in major e-commerce markets are always adopting new tools and techniques. You can dive deeper into the latest photography industry statistics to see how technology is shaping today's visual standards. Getting these editing and export settings right ensures your images don't just look good—they meet the professional expectations of the modern online shopper.
Common Product Photography Questions
Even with the best plan, you're bound to hit a few snags. It happens to everyone. Here are some quick answers to the questions I hear most often from brands and creators just getting started with their product shots.
Can You Really Use Just a Phone for Professional Shots?
Yes, absolutely. That camera in your pocket is a powerhouse, but the secret isn't the phone itself—it's how you control the environment around it. The single biggest mistake I see is camera shake.
Grab a simple tripod with a phone mount. This one change will immediately make your photos sharper and more consistent. Find a good source of soft, natural light (a big window is perfect), use a clean background, and you're honestly 90% of the way to a professional shot. Don't forget that most phones have a "pro" or "manual" mode, which lets you tweak settings like ISO and white balance for an even better result.
The bedrock principles of great photography—lighting, composition, and stability—matter infinitely more than the camera brand. A steady, well-lit phone photo will beat a shaky, poorly-lit DSLR photo every single time.
What Is the Best Lens for Product Photography?
If you’re using a DSLR or mirrorless camera, the undisputed workhorse for most product shots is a 50mm lens (on a full-frame camera). Its field of view is very close to what the human eye sees, so it won’t warp the shape of your products. It’s my go-to recommendation for everything from apparel to home goods because it’s so versatile and reliable.
But what if you're shooting something small and detailed? That's when you need a more specialized tool.
Macro Lens (around 100mm): This is non-negotiable for capturing the fine details in jewelry, watches, or intricate electronics. It lets you get incredibly close to your subject for razor-sharp images that a standard lens just can't physically produce.
Avoid Wide-Angle Lenses: Steer clear of anything wider than 50mm (like a 35mm or 24mm). These lenses cause perspective distortion, which can make your products look stretched or oddly proportioned. Always stick to standard or telephoto focal lengths to keep things looking true-to-life.
How Do You Get a Pure White Background?
Getting that perfect, pure white background (hex code #FFFFFF) is a two-part dance between your shooting setup and your editing process. First, in the studio, use a white seamless paper backdrop and light it completely separately from your product. The goal is to slightly overexpose the background, making it as bright as possible without that light spilling onto your subject and washing it out.
Then, you finish the job in post-processing. In a tool like Adobe Photoshop, the 'Select Subject' feature does a fantastic job of isolating your product. Once you refine that selection, you can invert it to select just the background and fill it with pure white. This little trick ensures you get that crisp, clean look that works perfectly on Amazon, Shopify, or any other e-commerce site. For more deep dives into elevating your brand’s visuals, check out our other guides on the Look Atlas blog.