
Commercial product photography: deliver for web and print
“High resolution” is not a complete brief for a product launch that needs both a website image and a printed sales sheet. Plan the placements before the shoot, capture enough usable detail, approve a master and make separate delivery files. That is the practical work behind commercial product photography: product imagery made for business uses such as stores, advertisements and catalogs.
Consider a small speaker launch needing a website image and a photograph placed six inches wide in a printed sales sheet. Both may use the same composition. They still need different delivery checks, and changing a file's resolution label cannot create missing pixels.
1. Get a specification from each recipient
Ask the web designer and print producer for the actual placement, not a general preference for large files. For the website, obtain the required pixel dimensions, aspect ratio, accepted format and file-weight guidance. For print, obtain the photograph's placed size, requested pixels per inch, color workflow and delivery format. A page's trim size is not necessarily the size of the photograph inside it.
Photographer Ryan Velting's project-planning guide makes the broader point: a product page, catalog, advertisement and display have different technical requirements, and delivery specifications belong before capture. Our worked example adds the arithmetic and file check needed to turn that discussion into an executable job.
Suppose the designer requests a 1200 × 800-pixel web export. The print producer requests a 6 × 4-inch photograph at 300 pixels per inch, or PPI. Those are hypothetical instructions for this example, not platform defaults or a universal print standard. Confirm additional space for bleed with the layout owner if the photograph runs to a trimmed edge.
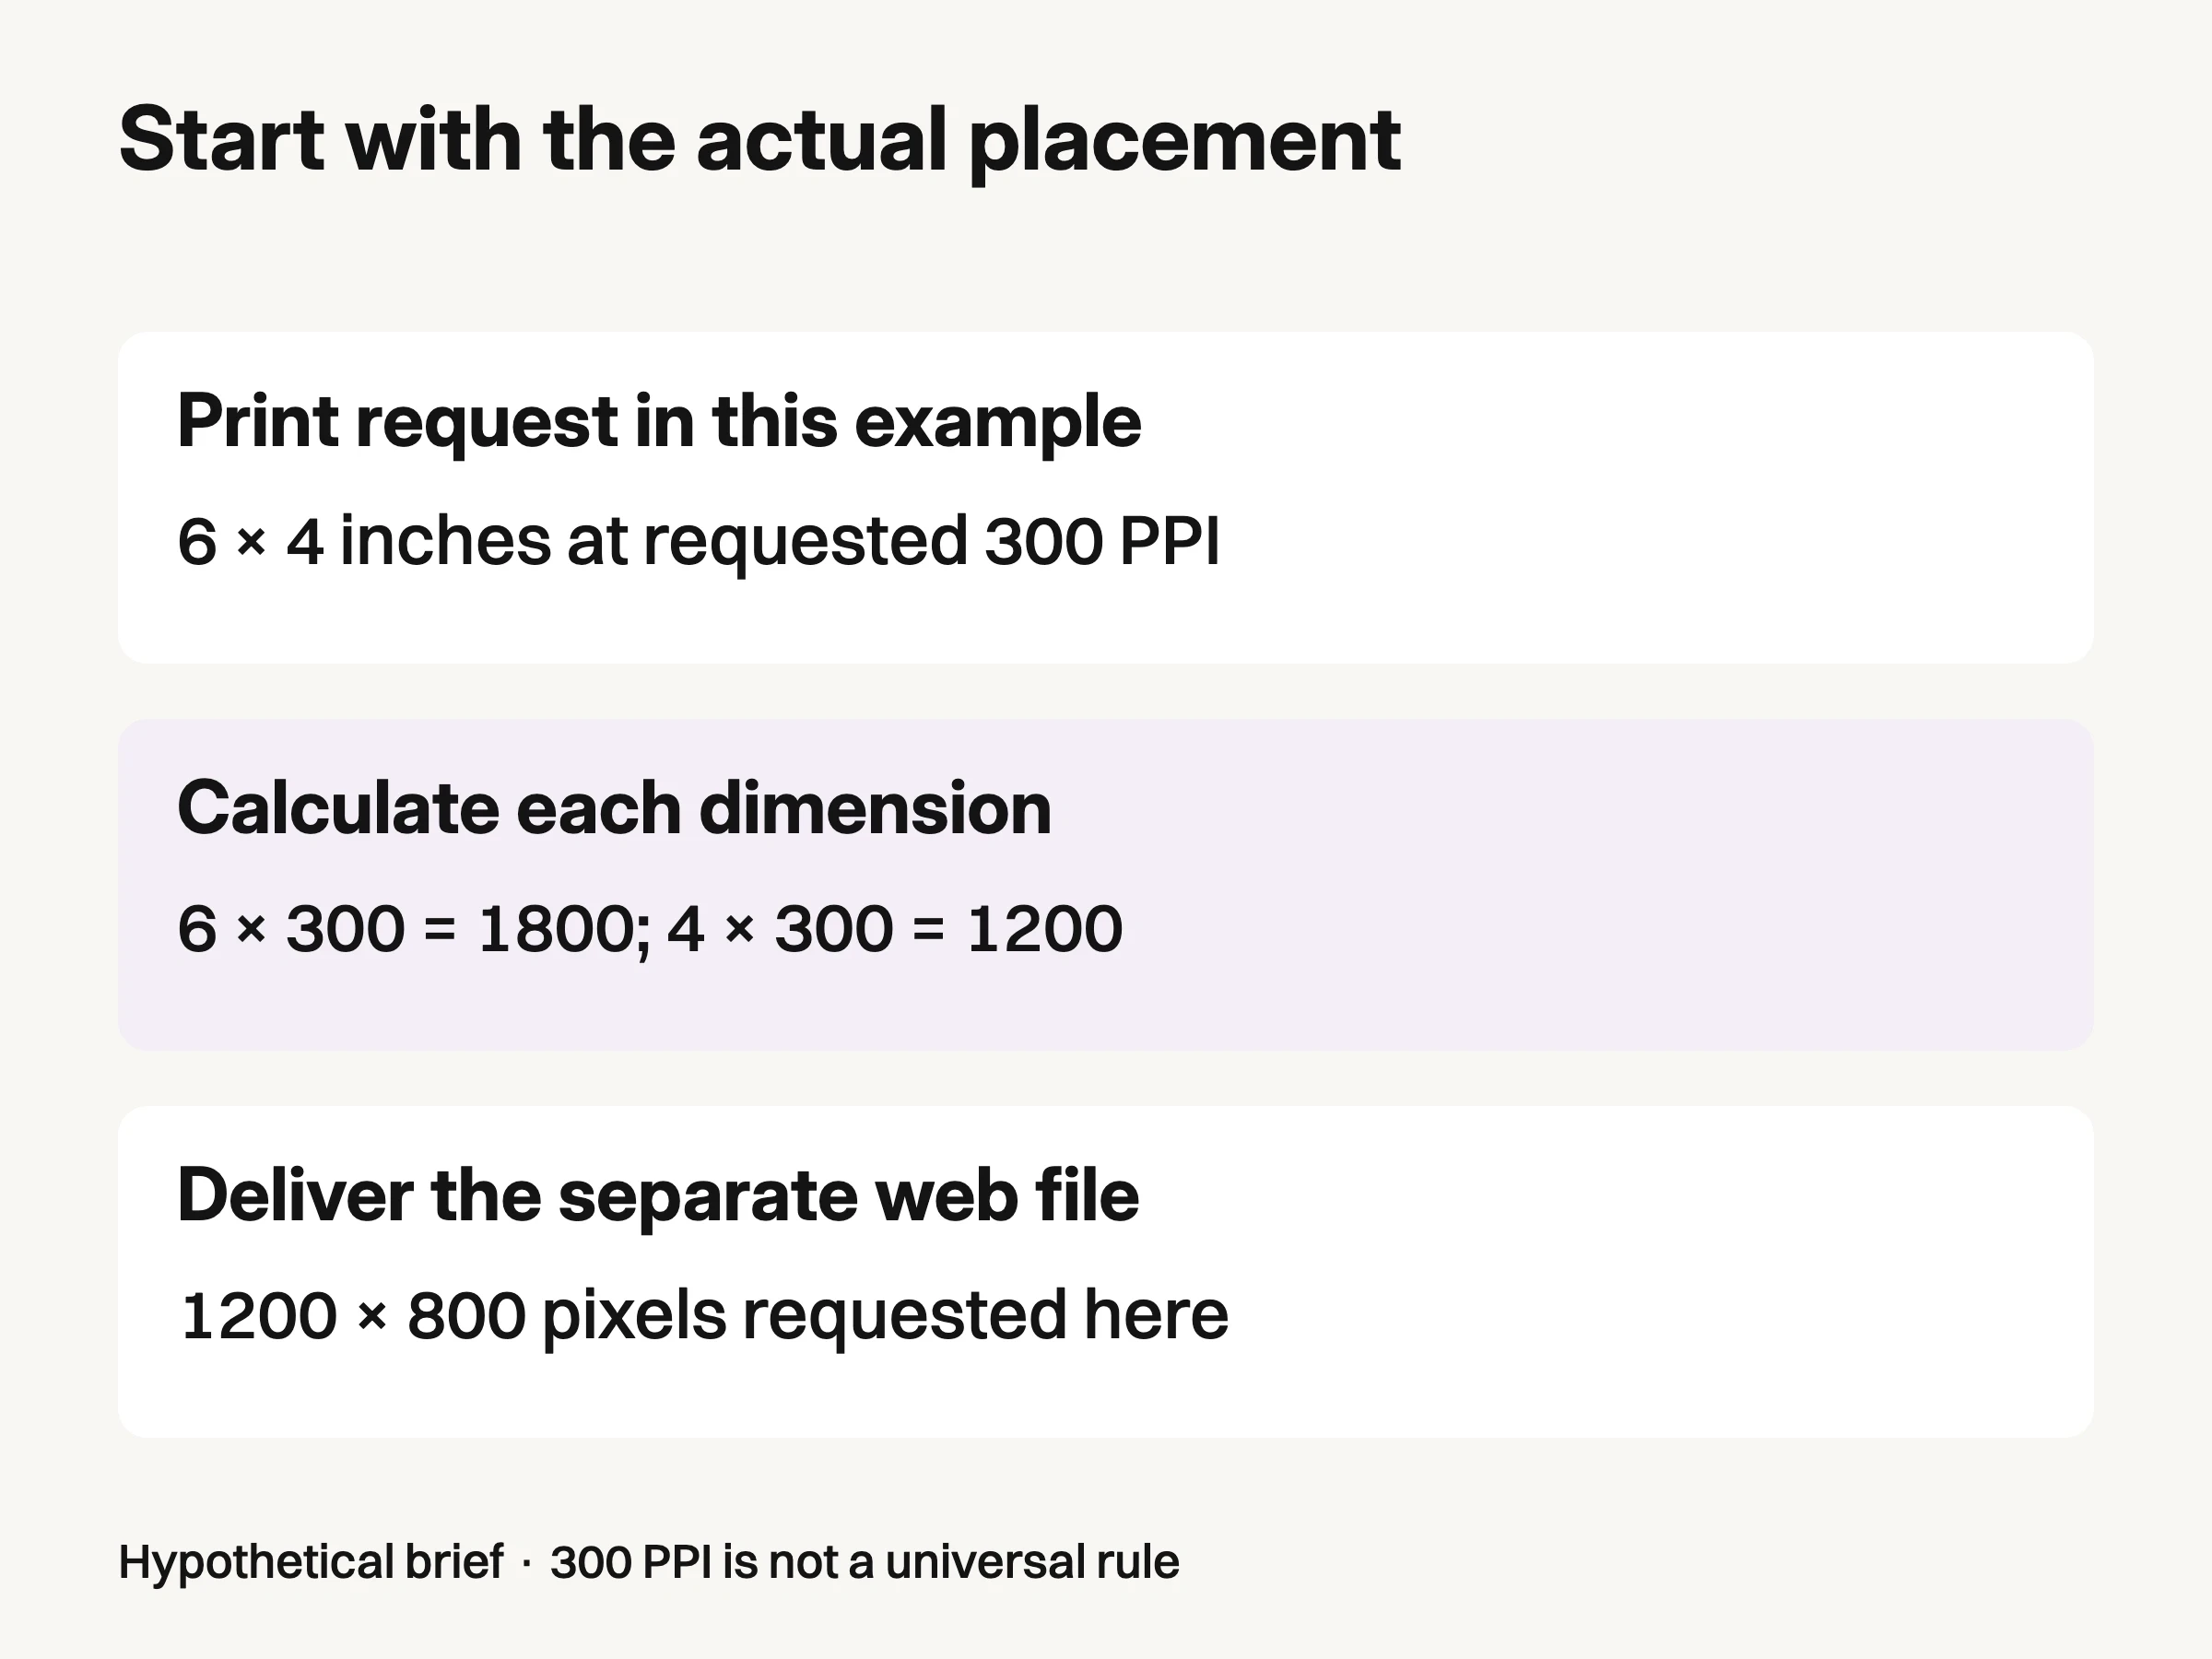
Hypothetical brief: 6 × 4 inches at a specifically requested 300 PPI requires 1800 × 1200 pixels. These are example instructions, not universal defaults.
2. Calculate the demanding output before choosing the master
For the example's print placement, multiply each dimension in inches by the requested PPI:
6 × 300 = 1800 pixels wide; 4 × 300 = 1200 pixels high.
The required photograph is therefore 1800 × 1200 pixels at its final placed extent. It needs more pixels than the example's 1200 × 800 web derivative. Capture and retain a sufficiently detailed source for the print job, then make the smaller web version from the approved master.
Adobe's image-size documentation describes the relationship between pixel dimensions, physical size and resolution. With resampling off, changing the resolution preserves the pixel dimensions. Resampling changes the pixel count; it is a different operation.
Do not turn the example's 300 PPI into a rule for every commercial photograph. HP's large-format guidance relates resolution to viewing distance and explicitly cautions against defaulting to 300 PPI for everything. A nearby sales sheet and a distant display can have different requirements. Get the production specification for the actual job.
If the only usable file is 1536 pixels wide, placing it six inches wide gives 256 PPI: 1536 ÷ 6. Writing “300” into its metadata does not meet the requested 1800-pixel width. Return to a larger original, agree on a smaller placement, or discuss an explicitly reviewed enlargement with the recipient. Do not silently substitute one for another.
3. Verify that a density change did not masquerade as more detail
For the controlled example below, we took one generated fictional speaker image and made two PNG files. Both contain 1536 × 1024 pixels. We changed only the PNG density metadata to nominal 72 PPI and 300 PPI, then decoded both files and compared their pixel data.
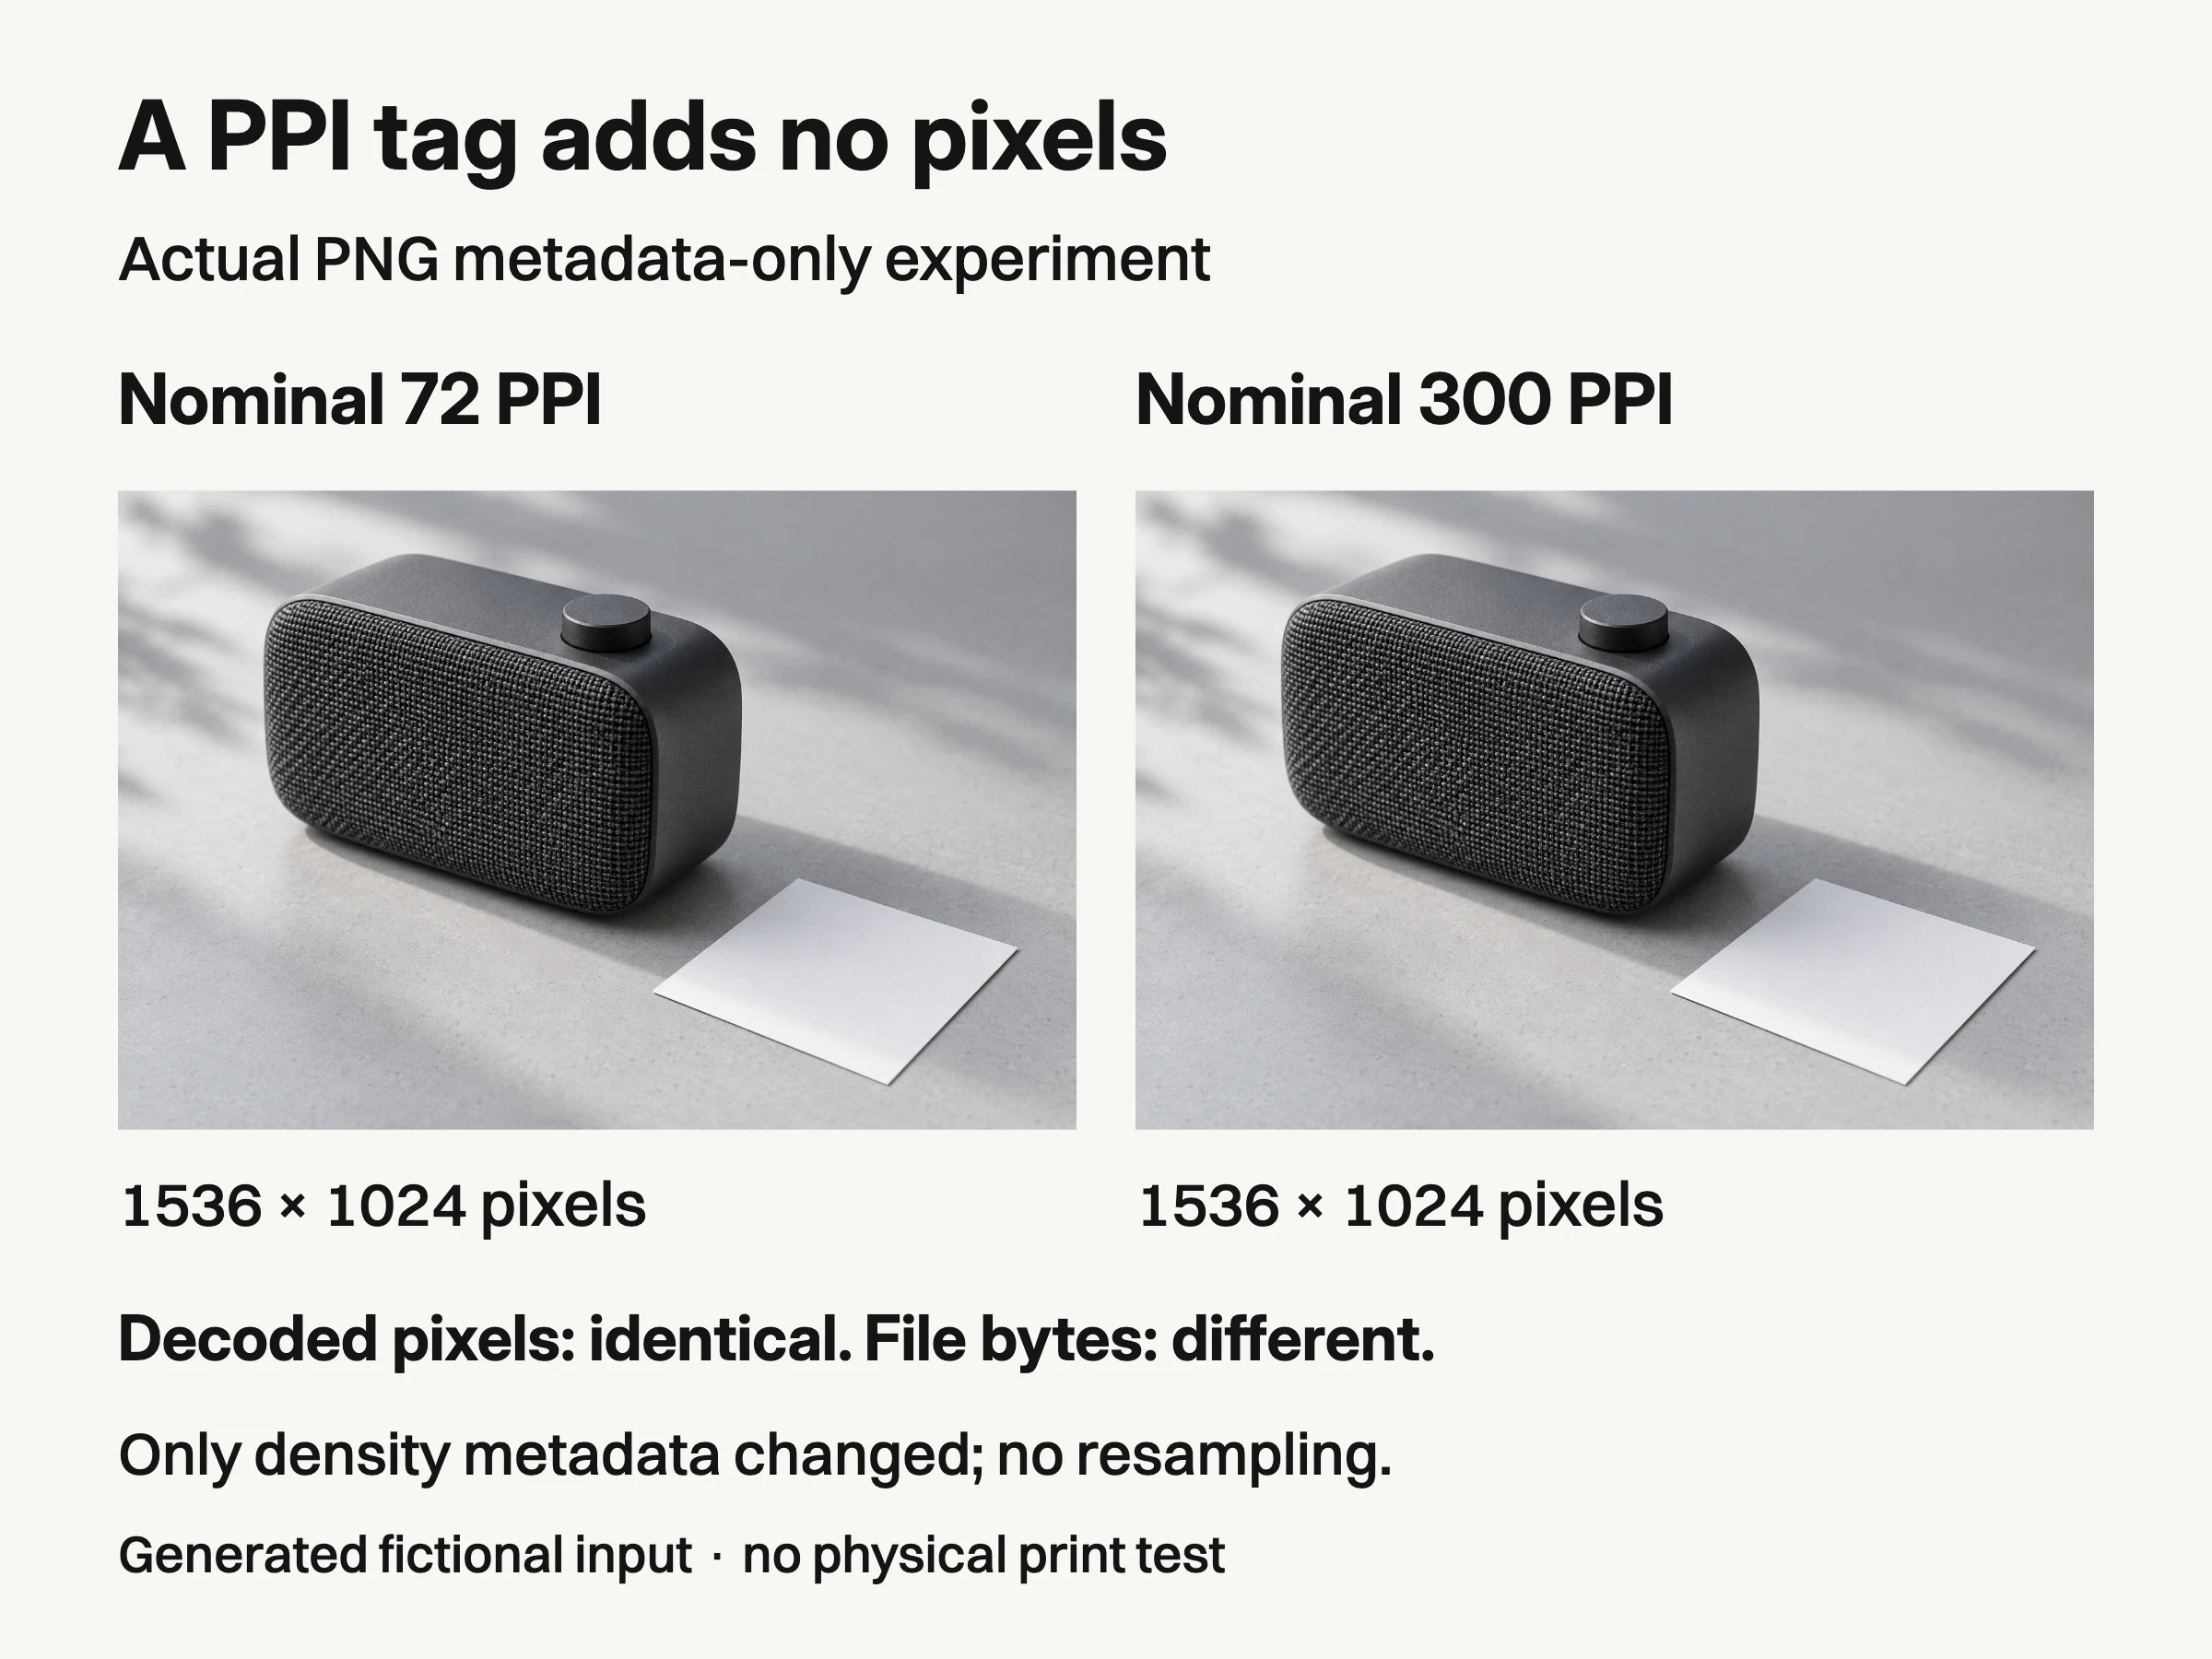
Controlled local PNG experiment using one generated fictional image. Only density metadata changed; decoded pixels match, while complete file bytes differ. Nominal PPI is rounded from PNG pixels-per-metre storage. No physical print was tested.
The decoded pixels were identical. The complete files were different because their metadata differed. That distinction matters: this is not a duplicate-file test based solely on complete-file hashes. It is a direct comparison of the decoded image data after a controlled metadata change.
The retained script, input, two outputs and measurements make the result reproducible. PNG stores density as integer pixels per metre, so the stored values correspond to approximately 72.009 and 299.9994 PPI. The nominal labels are rounded. No image editor interface was simulated, no print was made and no real product was photographed for this demonstration.
At nominal 300 PPI, this fixture's 1536-pixel width corresponds to 5.12 inches, not six. At the same six-inch placement, both versions supply the same 256 pixels per inch. The tag has not added grille detail or improved focus. It has changed a suggested relationship between existing pixels and physical size.
Use this as a delivery diagnosis, not a judgment of every file carrying a particular tag. A sufficiently detailed photograph can carry an unexpected density value and still be usable once placed correctly. A soft photograph can have abundant pixels and remain unsuitable. Dimensions are necessary checks, not certificates of photographic quality.
4. Make the capture answer the commercial brief
Before shooting the speaker, confirm the exact finish, included accessories and view. If the sales sheet needs the front grille and top control visible together, test that composition before photographing the batch. Clean the sample, arrange the lighting to reveal those surfaces and inspect the first capture at useful detail scale.
For camera, lighting and focus decisions, use the professional product photography guide. The production decision here is to check the proposed master against both named outputs while the product is still available. A technically large file does not compensate for a blurred control or an obscured identifying detail.
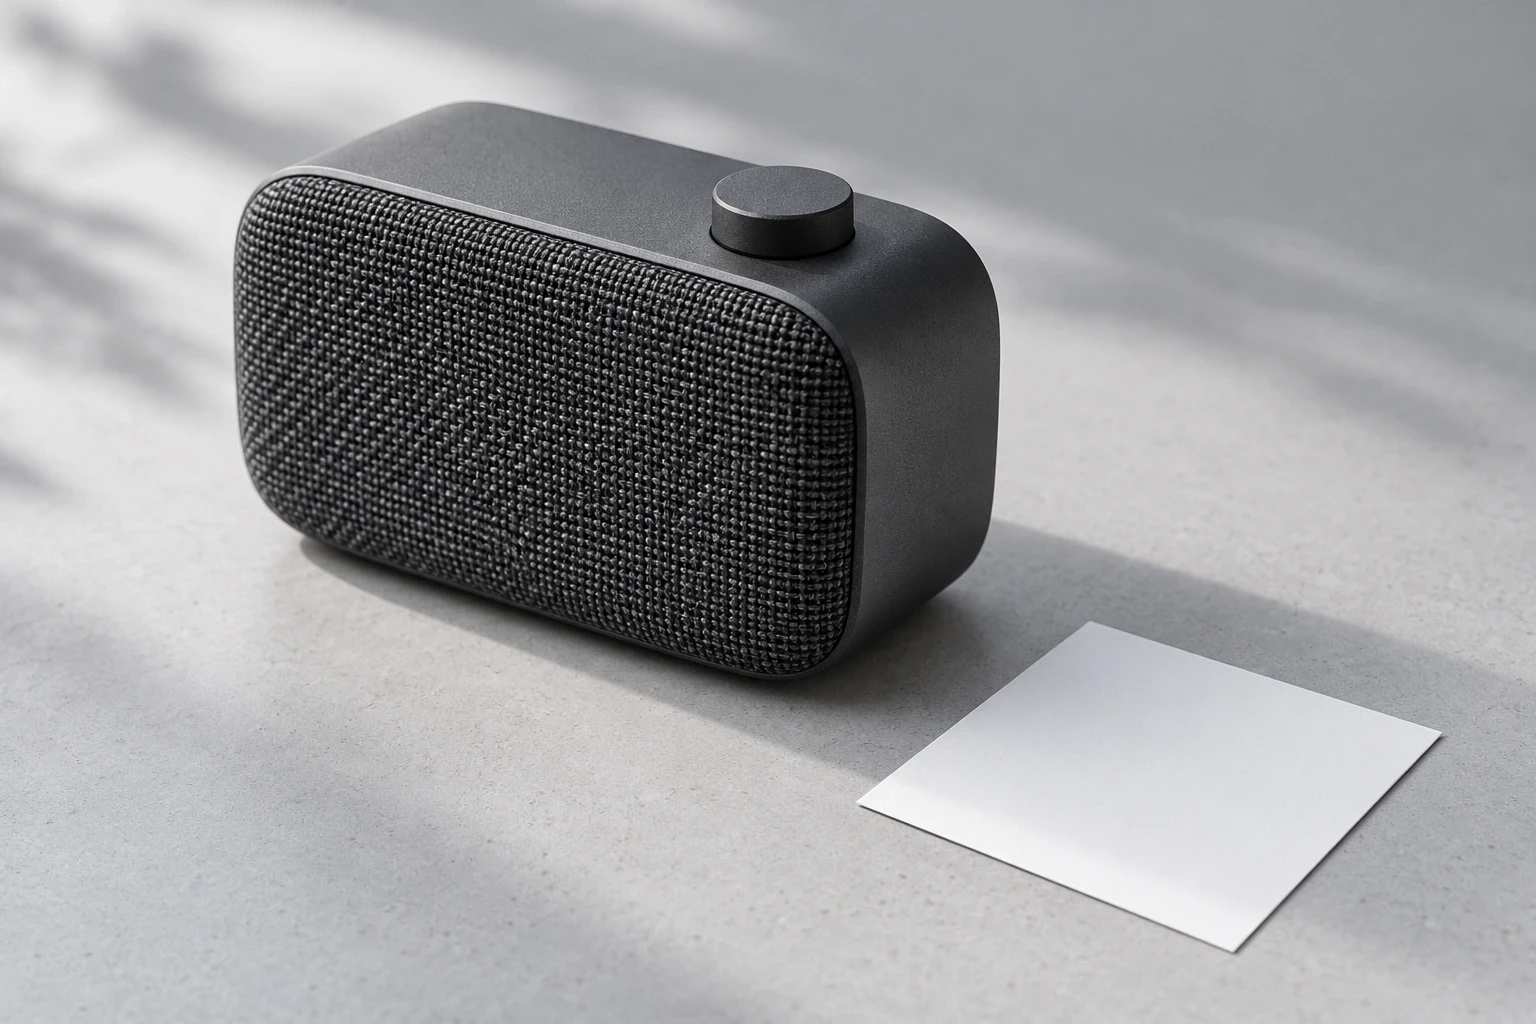
Conceptual illustration: separately generated fictional speaker. Its untouched image supplies the metadata experiment; the blank card is not a printed proof and the hero is a separate scene.
Keep enough usable source area for the agreed layout, but do not promise every future placement from one photograph. If the print and web compositions require different views, capture both. That is a shot requirement, not something to conceal inside an export preset.
Approve product appearance and image treatment before reducing the file for delivery. Retain the original and an approved master; identify web and print derivatives separately so the smaller website file does not become the source for the printed piece. Avoid resizing one derivative repeatedly to make the next.
5. Deliver named files with the decisions needed to use them
The useful handover tells the recipient which file to place and what it was prepared for. Include the placement name alongside the product identifier and version, for example speaker-charcoal-sales-sheet-v01 and speaker-charcoal-web-v01. These are suggested names, not an industry naming standard.
Delivery item | What the recipient needs to know |
|---|---|
Approved master | Which original and product it came from; which treatment was approved. |
Website derivative | Exact pixel dimensions, format and intended page placement; inspect the published result. |
Print derivative | Intended placed size and requested effective PPI, plus the producer's format and color instructions. |
Enlarged file, if accepted | That resampling occurred, which version was reviewed and which use it was accepted for. |
Final acceptance | Named file version, recipient and confirmation at the actual destination. |
Suggested handover fields; actual specifications come from the recipient.
Confirm the print producer's color requirements rather than automatically converting every image to a generic CMYK profile. HP's guidance explicitly allows a provider-requested RGB workflow. Keep the approved master intact and make the requested derivative with the agreed profile and format. A color-mode label alone does not establish a matched print.
For a critical printed placement, agree on the appropriate proof with the producer. Inspect the web image in the actual page and the print image at its actual placed size. If the layout later doubles the photograph's width without adding pixels, the effective PPI halves. Recheck the changed placement rather than relying on the original export label.
Where generated campaign imagery fits
Look Atlas can create studio, lifestyle, campaign and on-model imagery from product photos. Use it for the creative portion of a commercial brief while keeping the same delivery requirements: actual output dimensions, product review and a destination-specific acceptance check. Check Look Atlas pricing for current terms; this guide does not promise a particular output resolution or print suitability.
A generated scene is not documentary evidence of the speaker's construction, and an enlarged generated file is not automatically a print-ready master. For this example, the completion test is concrete: the website recipient can use the named web file, the print producer accepts the named file at the agreed physical size, and both can trace their version to the approved master. Close the job when those uses are confirmed, not when a folder says “high res.”
