
Clothing photography lighting: fix coverage before adding power
A cardigan can look pale at the shoulder and almost black at the hem even when the yarn is the same color. Before increasing exposure, find out whether the problem is light coverage, a fold or the material itself. Raising the whole frame may brighten the hem while losing detail at the shoulder.
For clothing photography lighting, begin with one broad source that reaches the whole garment. Check its coverage, then shape the shadows that reveal the fabric. Those are separate jobs: an evenly lit outline can still need directional light to show knit, seams or drape.
Start with a source that reaches the hem
Prepare and hang the garment in its intended presentation, or place it on the mannequin you will actually use. Keep the camera fixed and frame the complete piece. For an upright garment, start with a tall, broad source to one side of the camera, aimed toward the garment rather than only its neckline. Leave a white reflector out initially so the first frame shows what the main light is doing.
A large window can be the source, but changing daylight makes comparisons harder. With artificial light, remove unrelated room lighting from the test. Keep exposure and white balance fixed between comparison frames. If automatic processing keeps changing brightness, use a capture mode that lets you hold it steady.
This is a starting arrangement, not a mandatory light count. NiceFoto's clothing-lighting guide recommends a vertical source for full-length coverage and checking the lower garment as well as the upper body. The broader clothing photography for ecommerce guide explains when to use hanging, flat-lay and on-model views.
Compare one reference at three heights
Do not diagnose illumination by comparing a shiny button at the shoulder with ribbing at the hem. Those surfaces respond differently. Instead, temporarily place the same matte neutral card near shoulder, waist and hem in separate frames, keeping its face parallel to the camera and approximately in the garment's front plane. Avoid casting a hand or body shadow onto it.
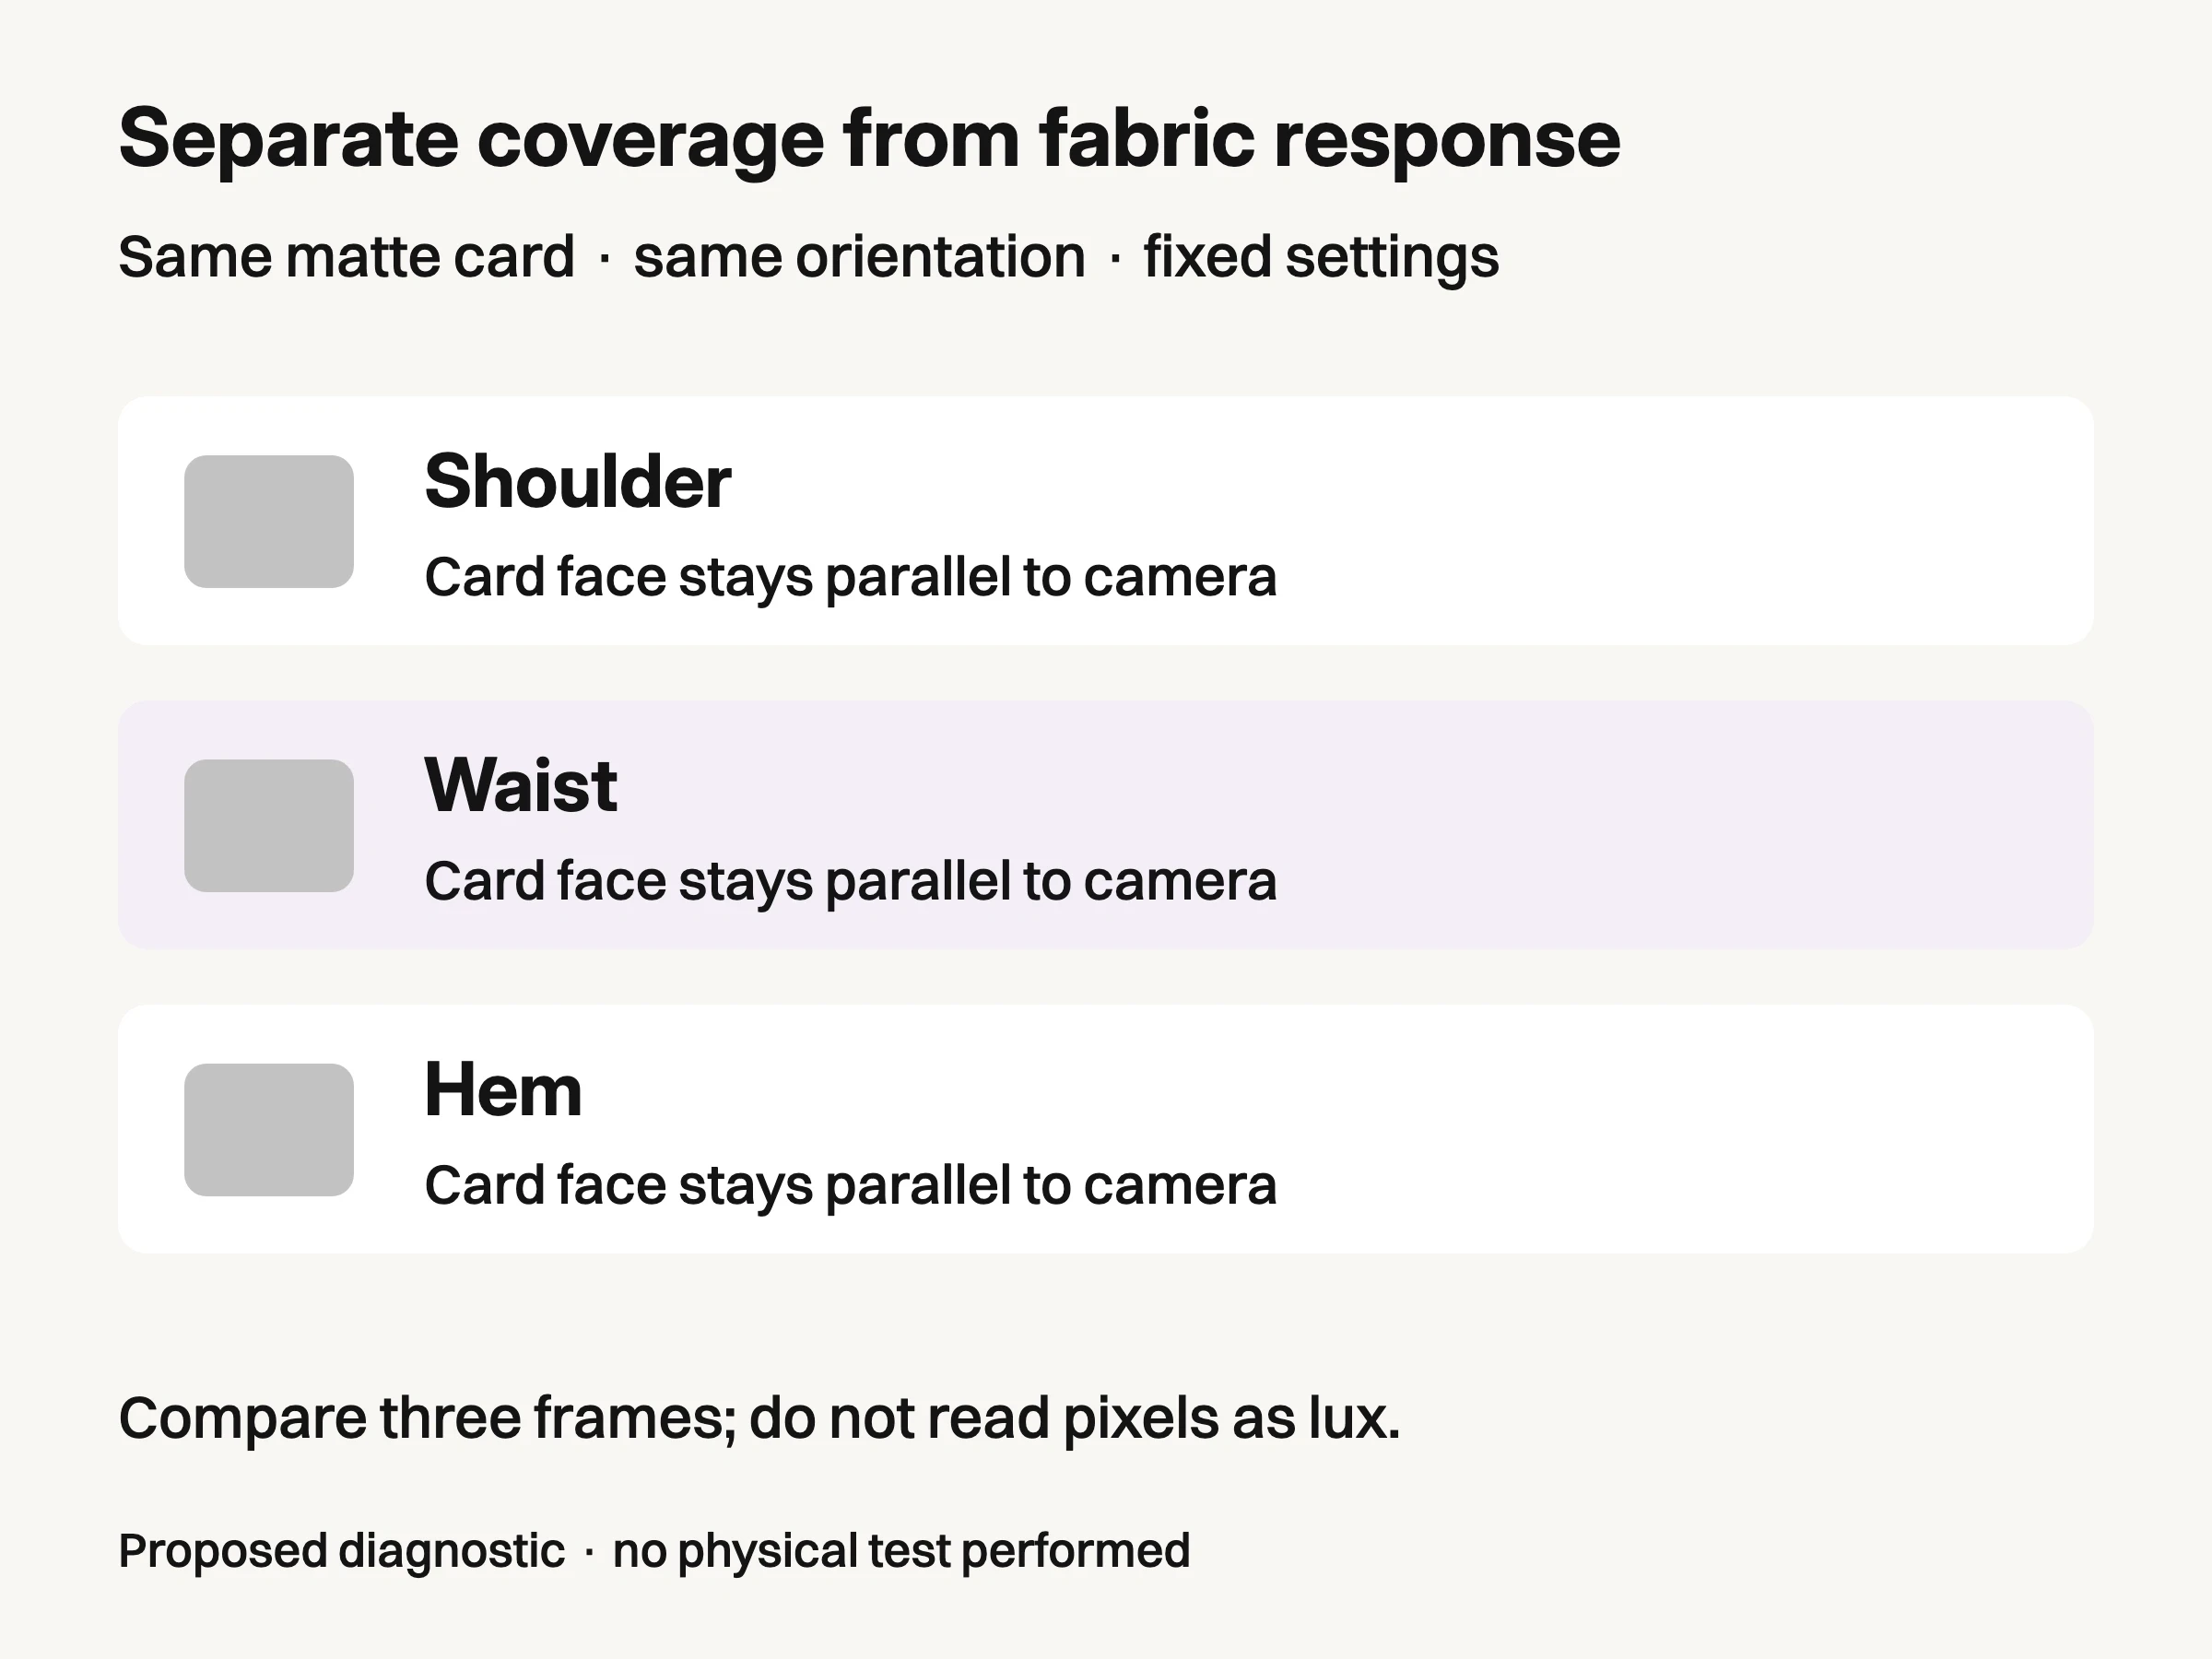
Proposed diagnostic: compare the same matte card at three heights with fixed orientation, exposure and processing. No physical test was performed; image values are not lux readings.
Hold the light, camera settings, card orientation and processing constant. Compare the card region in the three frames. If it becomes visibly darker toward the bottom, there is a positional difference to investigate before attributing the garment's gradient to its dye. If the card remains similar but the fabric changes, inspect folds, surface direction and reflections next.
This is a proposed diagnostic you can perform on your set, not a shoot we conducted. It is a practical comparison, not a lux measurement. JPEG values and on-screen brightness are affected by processing and display behavior; a value of 100 is not evidence of twice the illumination at 50. A light meter can provide exposure readings, but its position and orientation must also remain controlled.
Now change one placement variable and repeat: adjust the source's aim or height, then test distance if needed. A closer bright patch may be taking most of the beam while the hem sits outside the useful spread. Record the three reference frames so “better” means a visible change under the same comparison conditions.
The largest lux number does not describe the whole garment
A published output figure needs its modifier and distance attached. Consider the manufacturer's data for one fixture, the amaran 200x S. At 5600K and 1 meter, its help page lists 6,400 lux bare and 45,400 lux with the Hyper Reflector. It also reports a much narrower beam with that reflector: 26 degrees rather than 111 degrees.
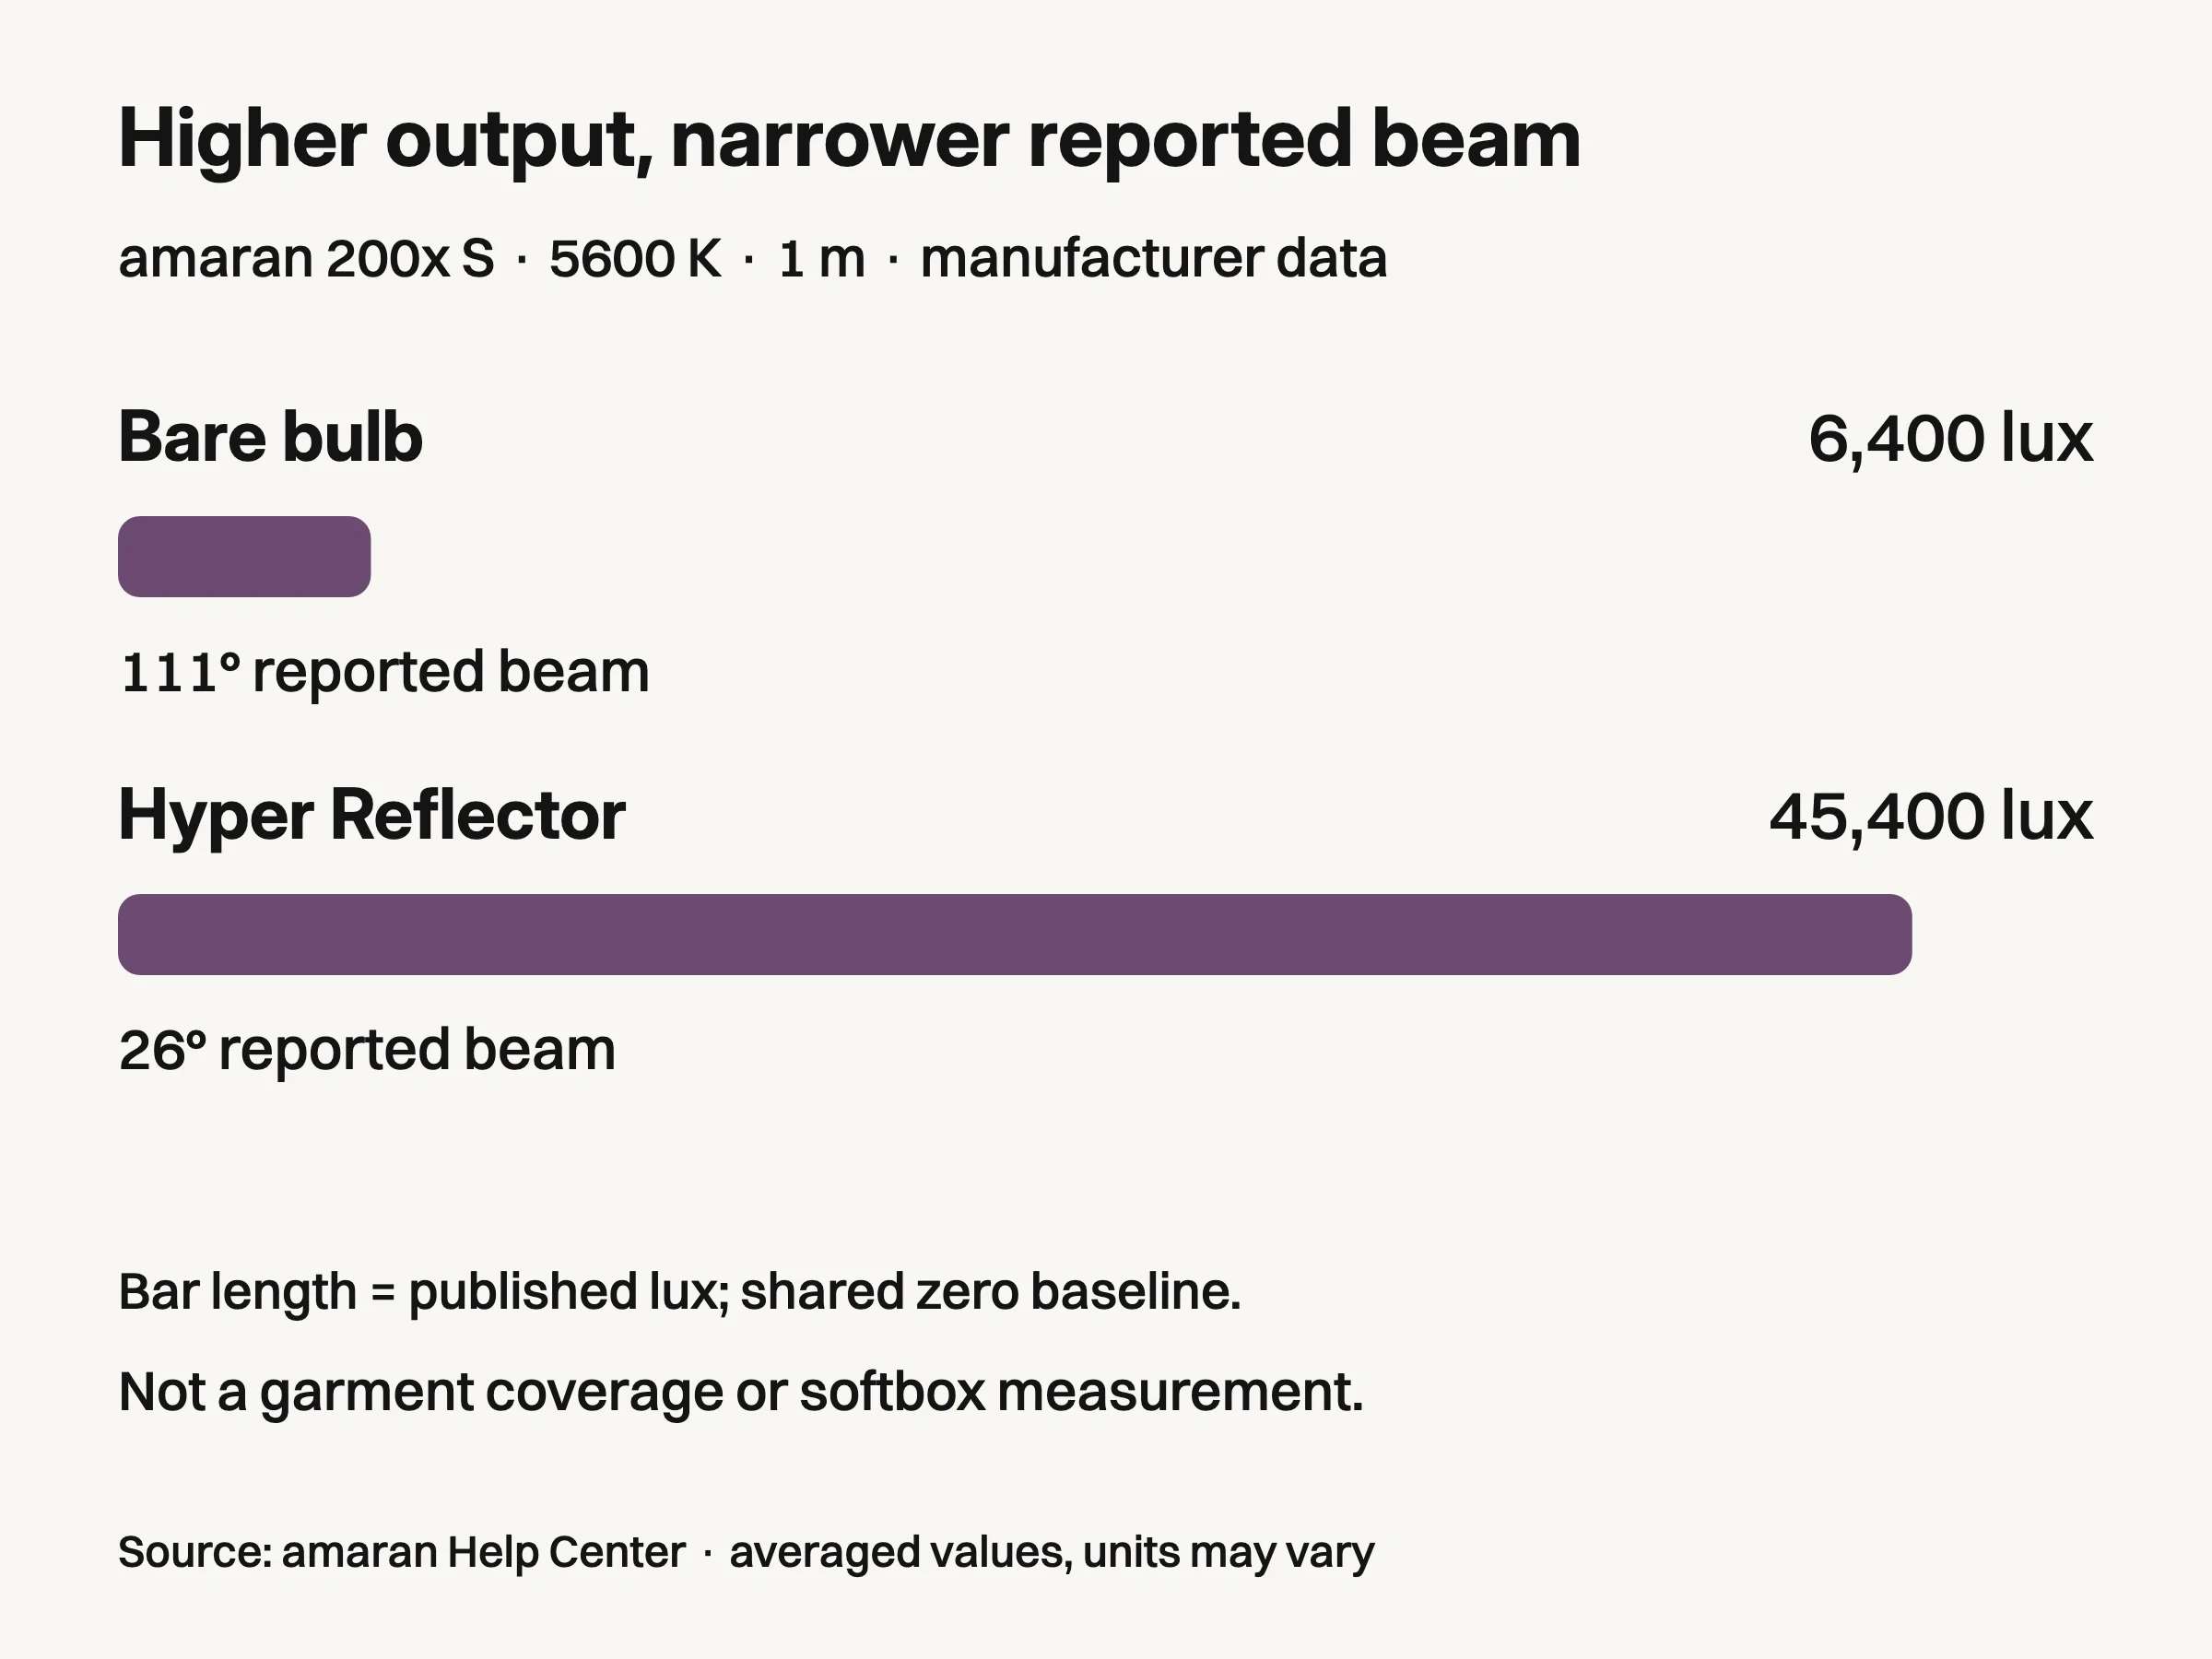
Source: amaran 200x S manufacturer photometrics, 5600 K at 1 m. Published averaged values may vary by unit. Reported beam angles are labels, not measured garment footprints. These figures do not establish coverage or softbox output.
These are amaran's published photometrics, not Look Atlas measurements. The maker identifies them as averaged results that may vary between units. They show why the headline number cannot be separated from the optical configuration.
They do not show illumination at a cardigan's shoulder or hem, define the intensity at the beam boundary, or predict what happens after adding a softbox. The chart is not a recommendation to use a bare light or reflector on clothing. Its practical consequence is narrower: judge the actual modified light across your garment, rather than choosing a setup by the largest output number alone.
If a source must move farther away to improve coverage, check exposure again. Also check the shadows. Broncolor explains that softness depends on the source's apparent size from the subject: the same modifier appears smaller as it moves away. A larger source may be needed to retain the desired softness. Distance, spread and softness interact; there is no universal meter mark that solves all three.
Add contrast only after coverage is usable
Once the shoulder, waist and hem receive usable light, decide how much shadow the fabric needs. Move a white reflector toward the shadow side if construction disappears. Move it away if the knit becomes visually flat. Keep the main source fixed during that comparison so you can see what the fill changed.
For ribbed or textured material, look for small shadows that make the surface readable without turning ordinary folds into dark bands. For satin, watch the reflected highlight while changing the source angle: a bright stripe may describe the material, but it should not erase a seam or fastening. A garment does not need identical brightness at every pixel to be honestly represented.

Conceptual illustration: a separately generated fictional hanging cardigan. This is not a controlled lighting comparison or the folded hero garment.
The hanging knit above is a conceptual illustration, not a lighting result. Use the physical garment to decide what its surface should communicate. A neutral card can help separate location from material response; it cannot establish that the rendered fabric color or sheen matches the sample.
Keep a broad front view for construction and add a deliberate material detail when necessary. You do not have to force one lighting arrangement to make every feature equally prominent. Preserve the relationship between those views so a detail image does not imply a different finish.
Match the correction to the visible failure
What you observe | What to check next |
|---|---|
The same card darkens toward the hem | Check aim, height, source spread and obstructions before raising the whole exposure. |
The card is similar, but one fabric area looks darker | Inspect folds and surface direction; move the light slightly to see whether the reflection changes. |
The hem improves but the shoulder loses texture | Rebalance coverage and protect the bright area rather than accepting the global exposure change. |
The garment is readable but the knit looks flat | Reduce fill or change light direction, then recheck full-length coverage. |
Moving the source back creates harder shadows | Reconsider apparent source size and fill; repeat the actual garment comparison. |
Troubleshooting proposals: repeat the controlled comparison after each change; these are not reported test results.
Save the useful placement and comparison frames before changing garments. Note source height, angle, distance, modifier and fill position, but keep the image evidence alongside the measurements. A new long coat may extend beyond the region that worked for a short top.
After the physical reference is usable, Look Atlas AI fashion photography can be considered for additional on-model or campaign imagery. Keep those creative variants separate from this lighting diagnosis. A generated highlight or plausible knit texture does not validate the original capture or reveal a detail the source never showed.
Before the garment leaves, remove the card and inspect the complete frame once more: shoulder detail, waist construction and hem must remain readable together. That final garment frame, supported by the controlled reference comparison, is the useful record to carry into the next setup.
